
Have you ever wondered how to recreate the vibrant and dynamic anime aesthetic in your 3D projects within Unity? Emerging from my creative cave, I decided to explore just that, using the iconic Mememe Dance as my inspiration. This article delves into my experiments with Unity to animate the MEMEME dance, focusing on shaders, scene setup, and motion techniques to capture that distinct anime look.
My goal was to render anime-style visuals in Unity, and the energetic MEMEME dance by Teddyloid feat. Daoko provided the perfect motion study. Initially, I encountered challenges with shader toon effects, finding them somewhat lacking. This led me to consider modifications to existing shaders like stereoarts.jp’s shader, similar to how I previously tweaked the Unity-Chan shader. While I admire the 3D anime style achieved in games like Guilty Gear, the complexity involved can be daunting. Therefore, I opted for developing my own streamlined method for achieving a 3D anime aesthetic in Unity.
Shader Considerations for Anime Style
In my earlier animation attempts, a modified Unity-chan shader was my go-to. However, with stereoarts.jp’s shader compiled in cginc, customization presented a different set of challenges. My aim was to integrate normal maps and refine its toon ramp. Some might question the relevance of normal maps in anime, but they can be subtly used to simulate cloth folds, adding a layer of realism without excessive detail – crucial because anime without cloth folds can appear somewhat unnatural.
Unity-chan shader
- Pros:
- SSAO Compatibility: With modifications, it integrates well with Screen Space Ambient Occlusion (SSAO), enhancing depth perception.
- Pleasing Results: Can produce visually appealing anime-style renders under certain conditions.
- Cons:
- DX11 Incompatibility: Does not support DirectX 11, limiting modern rendering features.
- Overbright Issues: Susceptible to overexposure, potentially losing detail in bright areas.
- Limited Outline Control: Lacks control over outline color, which is important for anime aesthetics.
- Non-functional Normal Map: The original shader does not utilize normal maps for surface detail.
- Lack of Built-in Effects: Original version misses Depth of Field (DoF) and SSAO support, requiring external implementations.
- Complex Setup: Requires adjustments across multiple settings to achieve the desired look.
- Specular Reflection Inappropriateness: Anime rarely features specular highlights; the shader’s specular aspects are largely irrelevant.
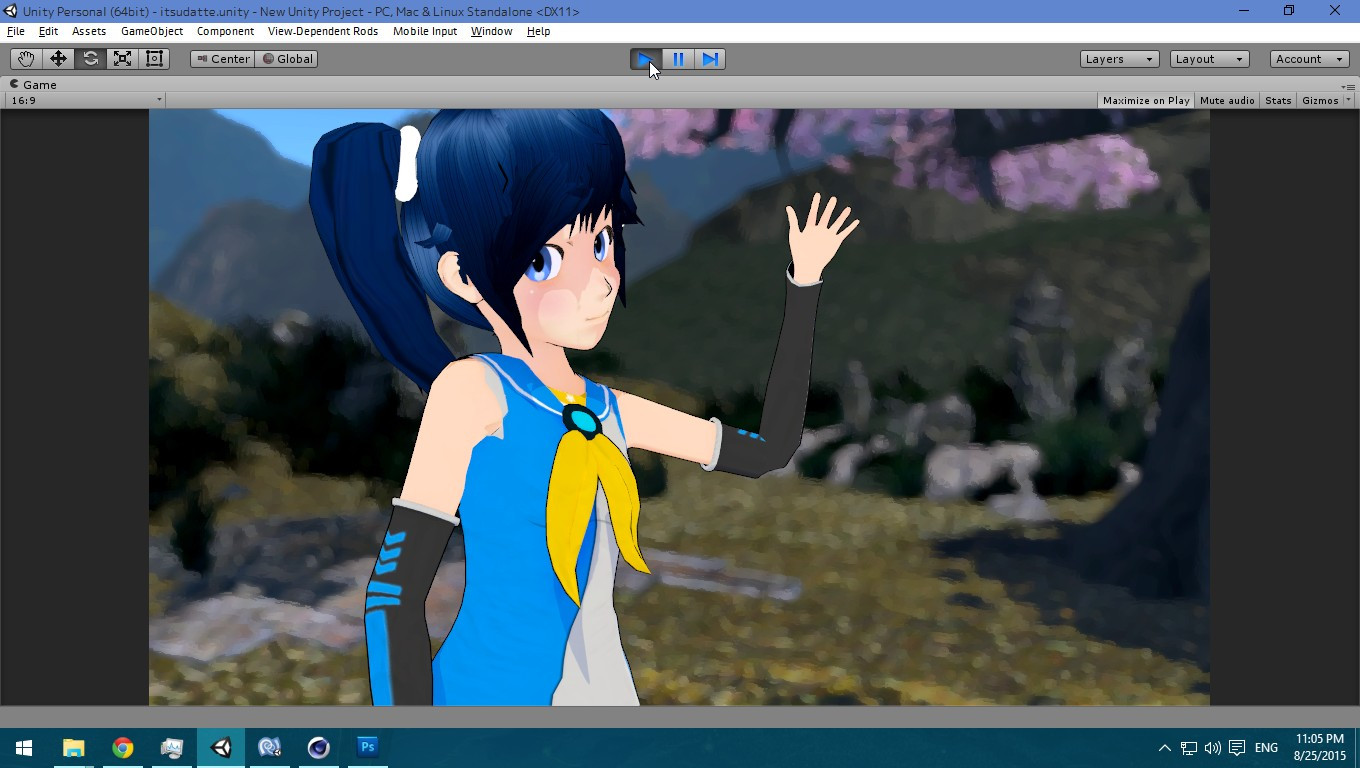 Unity interface showcasing the project setup with the Itsudatte scene and shader configurations
Stereoarts.jp shader
- Pros:
- DX11 and Global Illumination Support: Compatible with modern rendering pipelines, including DirectX 11 and Global Illumination for realistic lighting.
- Extensive Control: Offers comprehensive control over various shader parameters, allowing for precise visual customization.
- Cons:
- Normal Map Limitation for Cloth Folds: Initially lacks normal map support for creating subtle cloth fold effects.
- SSAO Darkening: SSAO implementation can sometimes darken the scene unrealistically, detracting from the anime style.
Scene Configuration with Dual Cameras
To effectively apply post-processing effects selectively, I employed a dual-camera setup. Forward rendering became necessary because deferred rendering is incompatible with depth cameras. Depth cameras are essential when you want to apply post-effects like SSAO or motion blur exclusively to the environment, separating them from the character. This is achieved by using two cameras: one for the environment and another specifically for the character.
The trade-off with this approach is that the character will not cast shadows onto the environment. To manage this, assign your character or actor to a dedicated layer, for instance, “Actor.” In your “Actor Camera” settings, configure the culling mask to “Actor only,” set depth to 1, and the clear flag to “depth only.” Crucially, make the “Actor camera” a child of the “Environment camera.” This ensures that animating the environment camera also moves the actor camera, maintaining scene cohesion.
For environment-specific post-processing, you can now apply effects like Depth of Field (which will not affect the character), motion blur, SSAO, and even artistic effects like paint filters. Keep the actor camera free from post-effects to maintain character clarity.
For game development, especially when performance is critical, consider deferred rendering or a single camera setup with baked ambient occlusion (AO) instead of SSAO. Baked AO offers performance benefits, and SSAO is generally not a feature commonly associated with anime character rendering.
While I experimented with modifying Unity’s SSAO to exclude the actor layer, the results were unsatisfactory, often rendering only the environment without the actors.
Motion and Frame Rate Techniques
Background Motion Blur
Anime often utilizes a frame rate of 12 frames per second (FPS), which is then doubled or repeated to achieve a 24FPS output, aligning with standard film frame rates (23.976/24FPS). Personally, I prefer a full 24FPS animation over doubled 12FPS for smoother motion. To convert 12FPS animation to 24FPS, VirtualDub is an effective tool. Render your animation at 12FPS in Unity, then import it into VirtualDub, specifying the source as 12FPS and converting it to 24FPS. This process effectively doubles the frames, resulting in a 24FPS video that retains the stylistic essence of 12FPS animation.
Games like Guilty Gear meticulously draw each motion on every frame using step interpolation. While this technique authentically captures the anime style, it is incredibly time-consuming and complex. A simpler approach to achieve a similar visual style is to reduce the frame rate, even when using spline interpolation animation as I do. You might think, “Games should run at 60FPS! You can’t just lower the frame rate to 12FPS for an anime look!” However, consider that frame rate reduction can be implemented via FBX settings in Unity, specifically through “samples.” Experimenting with compressing keyframes and frame rates through FBX offers a viable method to achieve the desired anime-style motion.
Further research and experimentation in this area are definitely on my agenda!
For more insights into integrating MMD (MikuMikuDance) models in Unity, you can refer to my previous tutorial: https://laboratoriesx86.wordpress.com/2015/04/26/tutorial-mmd-4-unity/
[