
Belly dance is an art form celebrated for its fluid movements and expressive costumes. Among the most iconic pieces is the skirt, which amplifies every shimmy and twirl. If you’re looking to deepen your connection with this dance through your attire, learning to make your own belly dance circle skirt can be incredibly rewarding. This guide will walk you through creating a beautiful, flowy skirt that’s perfect for practice, performance, and everything in between, ensuring you have the ideal belly dance skirt for your dance journey.
 How to Make a Circle Skirt and Circle Skirt Pattern
Do you remember the very first skirt that became part of your belly dance wardrobe? For many, including myself, the circle skirt holds a special place. It’s an excellent starting point, offering versatility and ease of styling. Circle skirts pair effortlessly with various belts and hip scarves, allowing for diverse looks. Their natural flow enhances every movement, and the sight of dancers twirling in matching circle skirts is truly captivating.
Understanding how to create and customize circle skirts is a valuable skill for belly dancers at all levels. Whether you’re adjusting an existing skirt or crafting one from scratch, this knowledge empowers you to personalize your dance attire. This tutorial will guide you through making a 2-panel circle skirt and its pattern. While you can skip pattern making and draw directly onto fabric, investing time in a pattern provides a reusable template, ensuring a perfect fit every time you create a new Belly Dance Skirt Dance outfit.
The following video provides a visual guide on creating a 2-panel circle skirt and pattern, perfect for those who learn best by watching.
Click here to receive updates and the Circle Skirt Custom Measurement Calculator
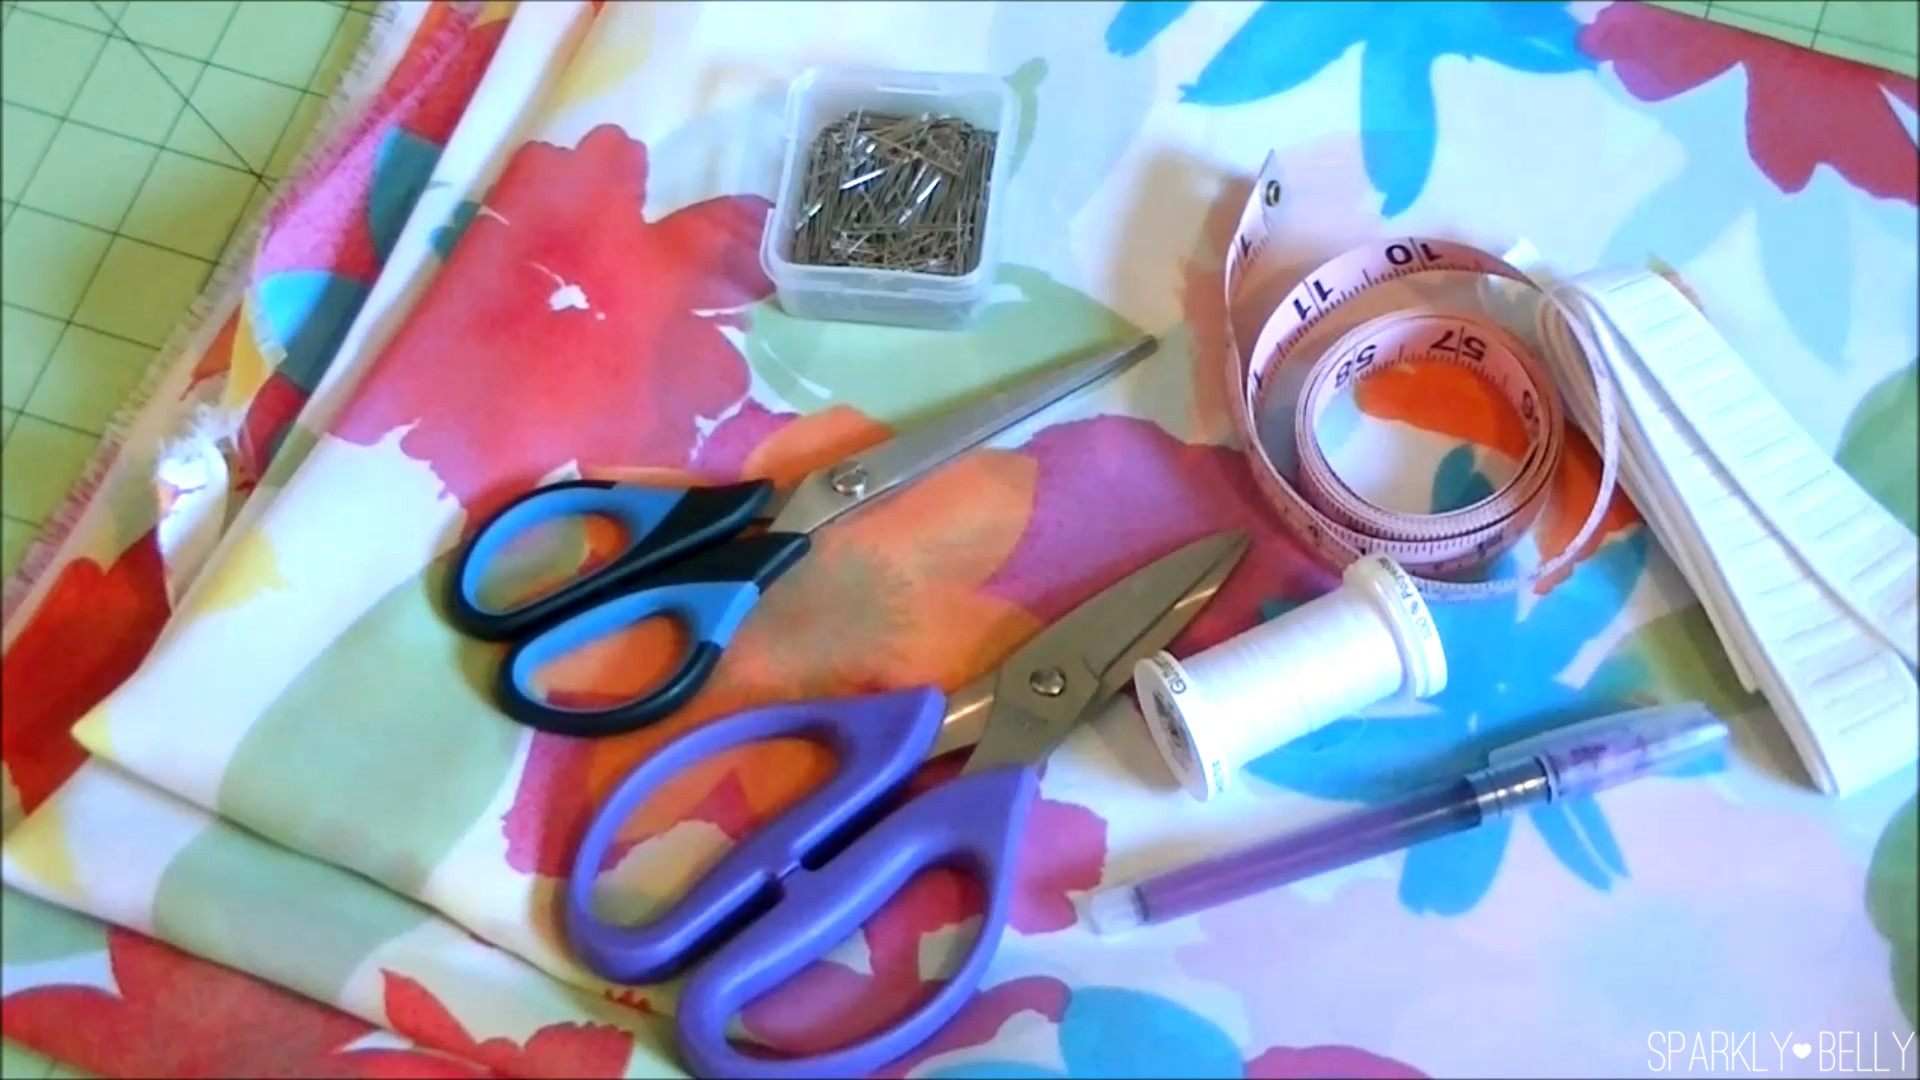
To begin crafting your belly dance skirt dance essential, gather these materials:
 Circle Skirt Material
- Fabric: Opt for lightweight, flowy materials such as chiffon or satin to achieve the signature movement of a belly dance skirt. For a comprehensive list of recommended fabrics, Shira’s website is an excellent resource for belly dance costume tutorials, featuring a dedicated page on circle skirt materials. Explore fabric options here.
- Elastic: 1-inch wide elastic, as used in the video, provides comfortable support.
- Sewing Tools: Essential tools include a measuring tape, fabric marker, sharp scissors (separate pairs for paper and fabric), matching thread, pins, needles, and a sewing machine.
- Pattern Paper: For creating your reusable pattern, you’ll need large paper sheets. Paper bags can be a resourceful alternative – simply cut them open and tape them together.
Estimating Fabric Requirements for Your Belly Dance Skirt Dance
Creating a circle skirt does require a generous amount of fabric due to its circular design. For a 2-panel circle skirt as outlined in this tutorial, refer to the guide below to estimate your fabric needs. It’s always wise to purchase slightly more fabric than estimated as a safety margin or to have extra material for matching accessories like armbands or headpieces, completing your belly dance skirt dance ensemble.
Fabric width: 150 cm (59 in)
Hip measurement: 92 – 108 cm (36 – 42 in)
Skirt length: 70 cm (27 in) 80 cm (31 in) 90 cm (35 in) 100 cm (39 in)
Fabric length: 3 m (3.3 yd) 3.5 m (3.8 yd) 4 m (4.4 yd) 4.5 m (5 yd)
This chart serves as a helpful estimation tool. If your measurements fall outside this range, adjust your fabric purchase accordingly.
This fabric estimation is based on Shushanna’s formula, derived from the Pythagorean Theorem. You can find her detailed circle skirt instructions here. For skirts with more panels, Shushanna’s site offers formulas to guide you – the calculations for even this simple table were quite involved! Her website is a treasure trove of information, and I’ve personally learned a great deal from her resources over the years.
Step 1: Crafting Your Belly Dance Skirt Dance Pattern
When laid flat, a circle skirt forms a perfect circle, hence its name. A 2-panel circle skirt is constructed from two half-circle pieces. To simplify pattern making, we’ll create a pattern for just a quarter of the circle, which is easier to manage and cut.
Begin by taking two key measurements: the circumference of the fullest part of your hips and your desired skirt length.
Next, perform a simple calculation to determine lengths A and B, which define the dimensions of our quarter-circle pattern piece. If you prefer a quicker method, download the Custom Measurement Calculator (link provided below) and input your measurements to automatically calculate these values.
Click here to get the Circle Skirt Custom Measurement Calculator!
- A = hip measurement / 6.28 (This calculates the radius of the waist opening)
- B = A + length of skirt (This calculates the outer radius of the skirt panel)
With these measurements, use your measuring tape to draw a quarter circle on your pattern paper. Cut out this quarter-circle – your belly dance skirt dance pattern piece is now ready!
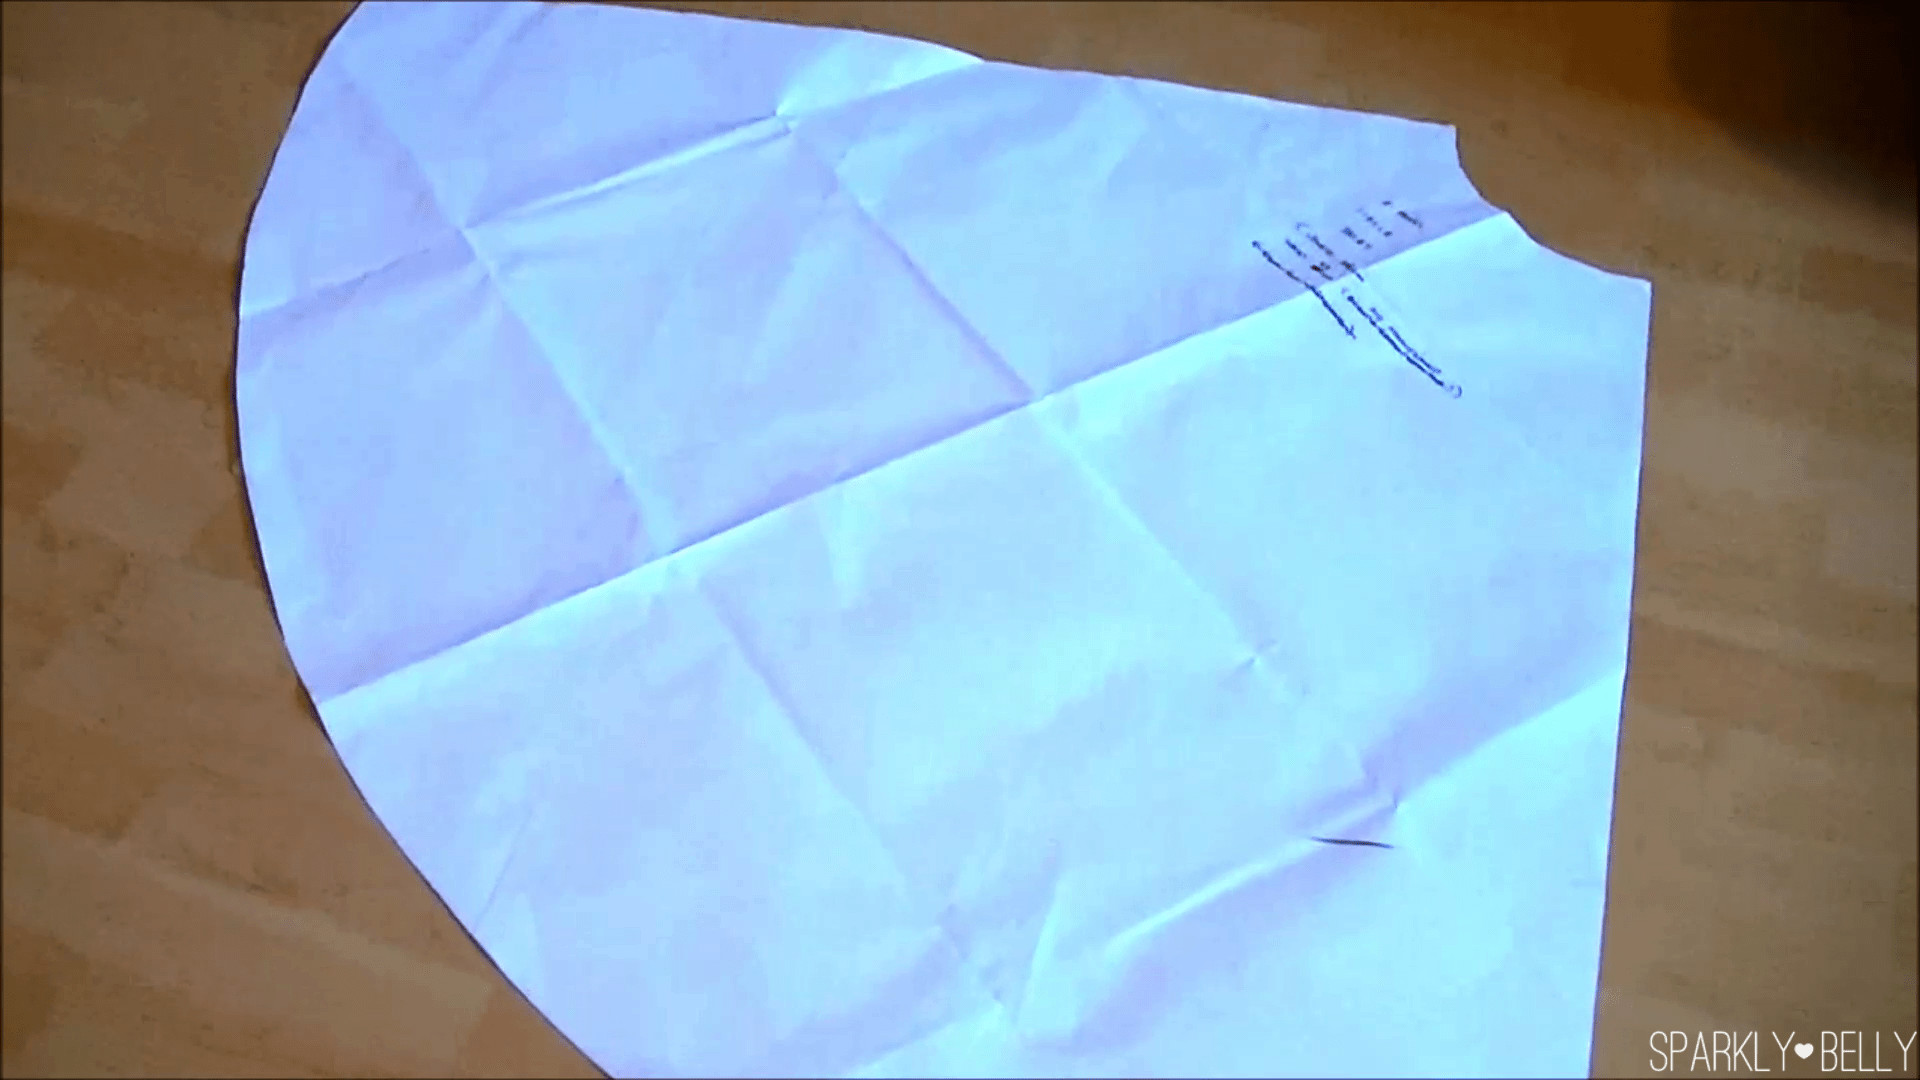 How to Make a Circle Skirt Pattern
Step 2: Cutting the Fabric for Your Dance Skirt
Prepare your fabric by folding it in half. Position your quarter-circle pattern piece on the fabric, aligning one straight edge of the pattern with the fabric’s selvage (finished edge) or raw edge, and the other straight edge with the fold. This alignment ensures efficient fabric use and symmetrical skirt panels for your belly dance skirt dance creation.
Secure the pattern to the fabric with pins. For greater stability, place weights on the pattern to prevent shifting during cutting. Cut along the pattern edges. Weights are especially helpful when working with slippery fabrics. Once unfolded, this cut piece should form a half-circle.
If you are using a lightweight fabric like chiffon, you might notice it shifts easily, even with weights. Precision isn’t crucial at this stage, and slight imperfections will be addressed later. Focus on cutting as closely to the pattern as possible. Repeat this step to cut a second identical half-circle panel. You now have the two main pieces for your belly dance skirt dance.
Step 3: Constructing the Elastic Waistband Casing
Now, we’ll create a casing, or a channel, for the elastic waistband. This will ensure a comfortable and secure fit for your belly dance skirt dance.
First, cut a rectangle of fabric for the casing. Use these formulas or the Custom Measurement Calculator to determine the rectangle’s dimensions:
- Length of Rectangle = hip measurement + 4 inches (10 cm) (Allows for overlap and seam allowance)
- Width of Rectangle = (width of elastic x 2) + 1 inch (2.5 cm) (Provides space for elastic and seam allowance)
Next, align the right side of the rectangular casing piece with the wrong side of one half-circle skirt panel. Match the top straight edges and pin them together.
Attaching a straight edge to a curved edge can be a bit tricky. One method is to pin from one end to the other, but this can sometimes lead to fabric bunching or uneven distribution.
An alternative, more precise method is to divide both edges into segments. Fold the rectangular casing piece in half, then in half again, marking eighth points with pins. Do the same for the curved edge of the skirt panel, marking quarter points. Match the pins to distribute the fabric evenly. Use plenty of pins to secure the layers. When sewing, maintain tension on both layers and gently ease the curved edge into the straight edge as you feed it through the sewing machine.
Sew along the pinned edge with a ½ inch (1.2cm) seam allowance. Repeat this process for the second half-circle skirt panel.
After attaching both panels, flip the skirt right side out. The right side of the skirt should be visible, with the wrong side of the casing at the top edge. Pressing the seam flat at this stage makes the next steps easier and creates a neater finish for your belly dance skirt dance. Fold the top edge of the casing over by ½ inch (1.2 cm) towards the wrong side and press again.
Fold the casing over again, aligning the folded edge with the previous stitching line. Pin in place. Topstitch close to this folded edge, creating the casing for the elastic. Ensure the casing is wide enough to comfortably accommodate your elastic.
Now, measure the elastic. Wrap the elastic around your waist where you want the skirt to sit, ensuring it’s snug but comfortable. Cut the elastic to this length and thread it through the casing using a safety pin. Securely stitch the ends of the elastic together.
(Watch the video for a visual demonstration – and a reminder to avoid twisting the elastic when joining the ends, a mistake easily made!) If you do accidentally twist the elastic, you’ll need to undo the seam and redo it, so double-check before stitching.
Finally, to close the casing, insert one end of the casing into the other, tucking the raw edge inside by about ¼ inch (5mm). Stitch straight down to neatly close the casing and encase the elastic.
Step 4: Hemming Your Belly Dance Skirt Dance
At this stage, hang your skirt for at least a few days, or ideally a week, before hemming. Lightweight fabrics, especially those cut on the bias like circle skirts, tend to stretch significantly. Hemming before this stretching occurs will result in an uneven hemline after the fabric settles.
This stretching is why precise cutting to the pattern wasn’t critical earlier, particularly with fabrics like chiffon.
Once the skirt has fully stretched, put it on and mark the desired hem length. You can ask a friend to help pin the hem evenly, or use a tall object at your desired skirt length as a guide. A doumbek and chair combination can serve as a makeshift dress form for hemming!
Hem the skirt using your preferred method. A serger creates a professional finish. If you don’t have a serger, a narrow zig-zag stitch along the edge works well to prevent fraying.
The straight side seams can be finished similarly with a zig-zag stitch or serger. For a continuous circle skirt without side slits, stitch the straight edges together. Alternatively, leave them open to create slits – the choice is yours, depending on your belly dance skirt dance style preference.
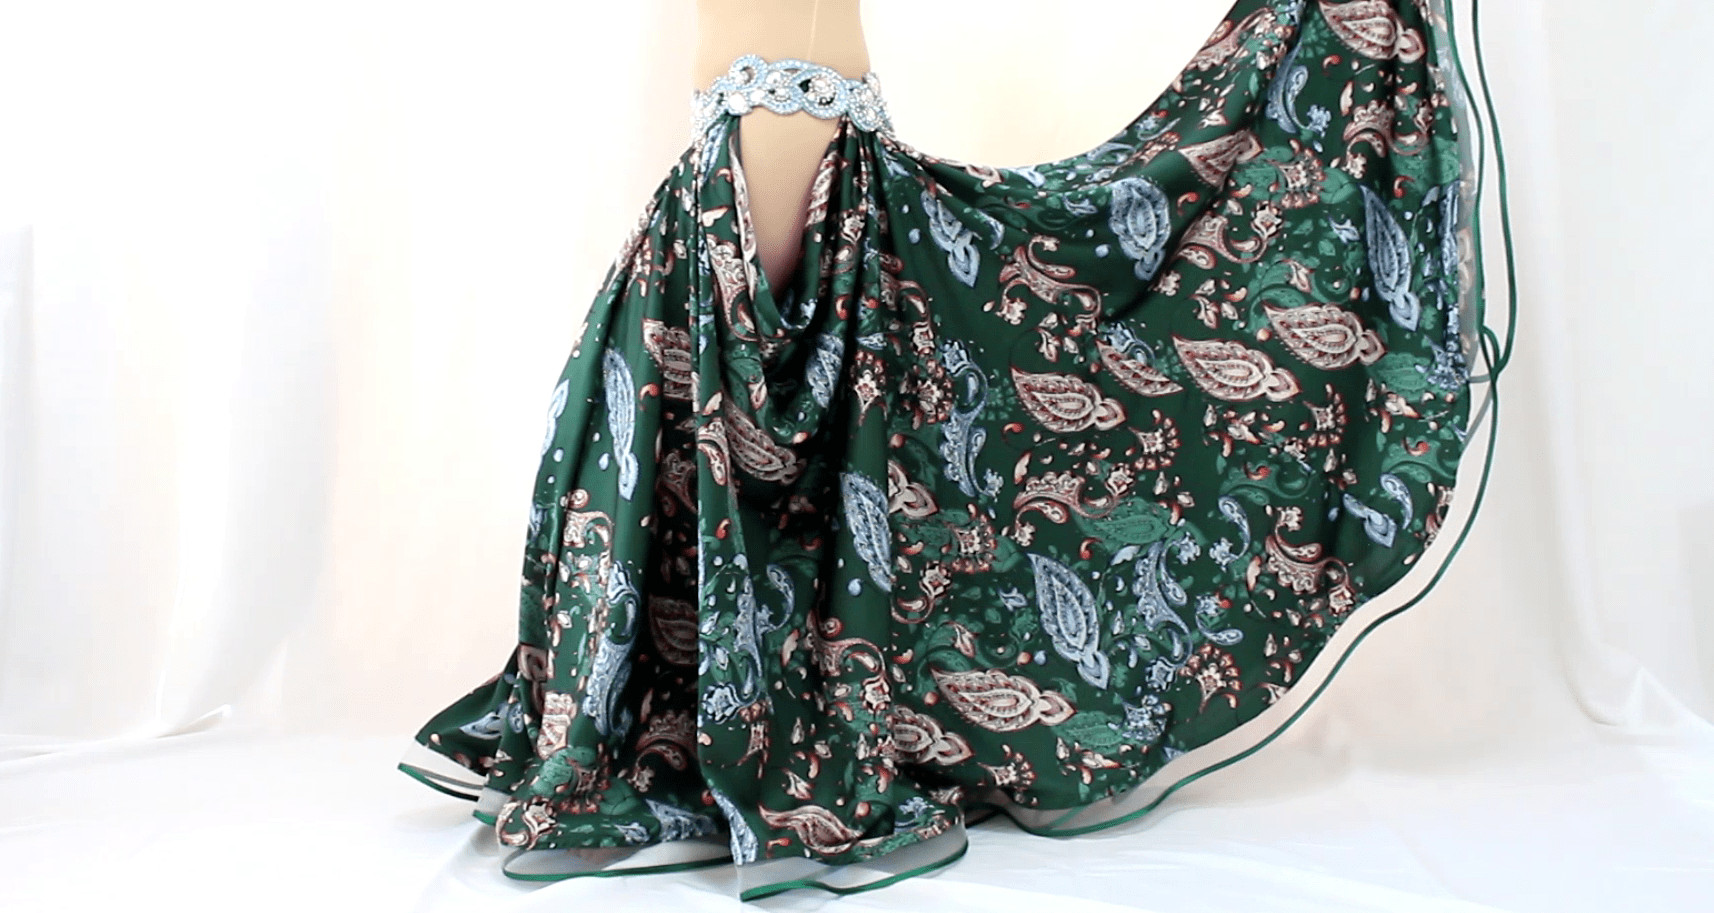
Your 2-panel circle skirt, custom-fitted for your belly dance skirt dance, is now complete! This basic design is wonderfully versatile. You can further embellish it with layers, additional panels, or decorative trim to create more elaborate belly dance skirt dance costumes.
We hope this tutorial has been helpful! Now, we have two requests. First, if you create a circle skirt using this guide or have your own tips to share, please post them on Sparkly Belly’s Facebook page.
Second, if you found this tutorial useful, please subscribe for updates and share this article with fellow dancers, students, and friends who might also benefit. Sharing helps us continue to create free resources like this instruction and the custom measurement calculator.
Click here to receive updates and the Circle Skirt Custom Measurement Calculator
If you’re inspired to explore more intricate circle skirt designs, such as those below, check out our Advanced Circle Skirts Premium Course!
 advanced circle skirt golden era
 advanced circle skirt
Elevate your belly dance skirt dance with designer-grade circle skirts – learn how here!
Or perhaps you’re drawn to a skirt with instant ‘WOW’ factor, like this cascading ruffle design?
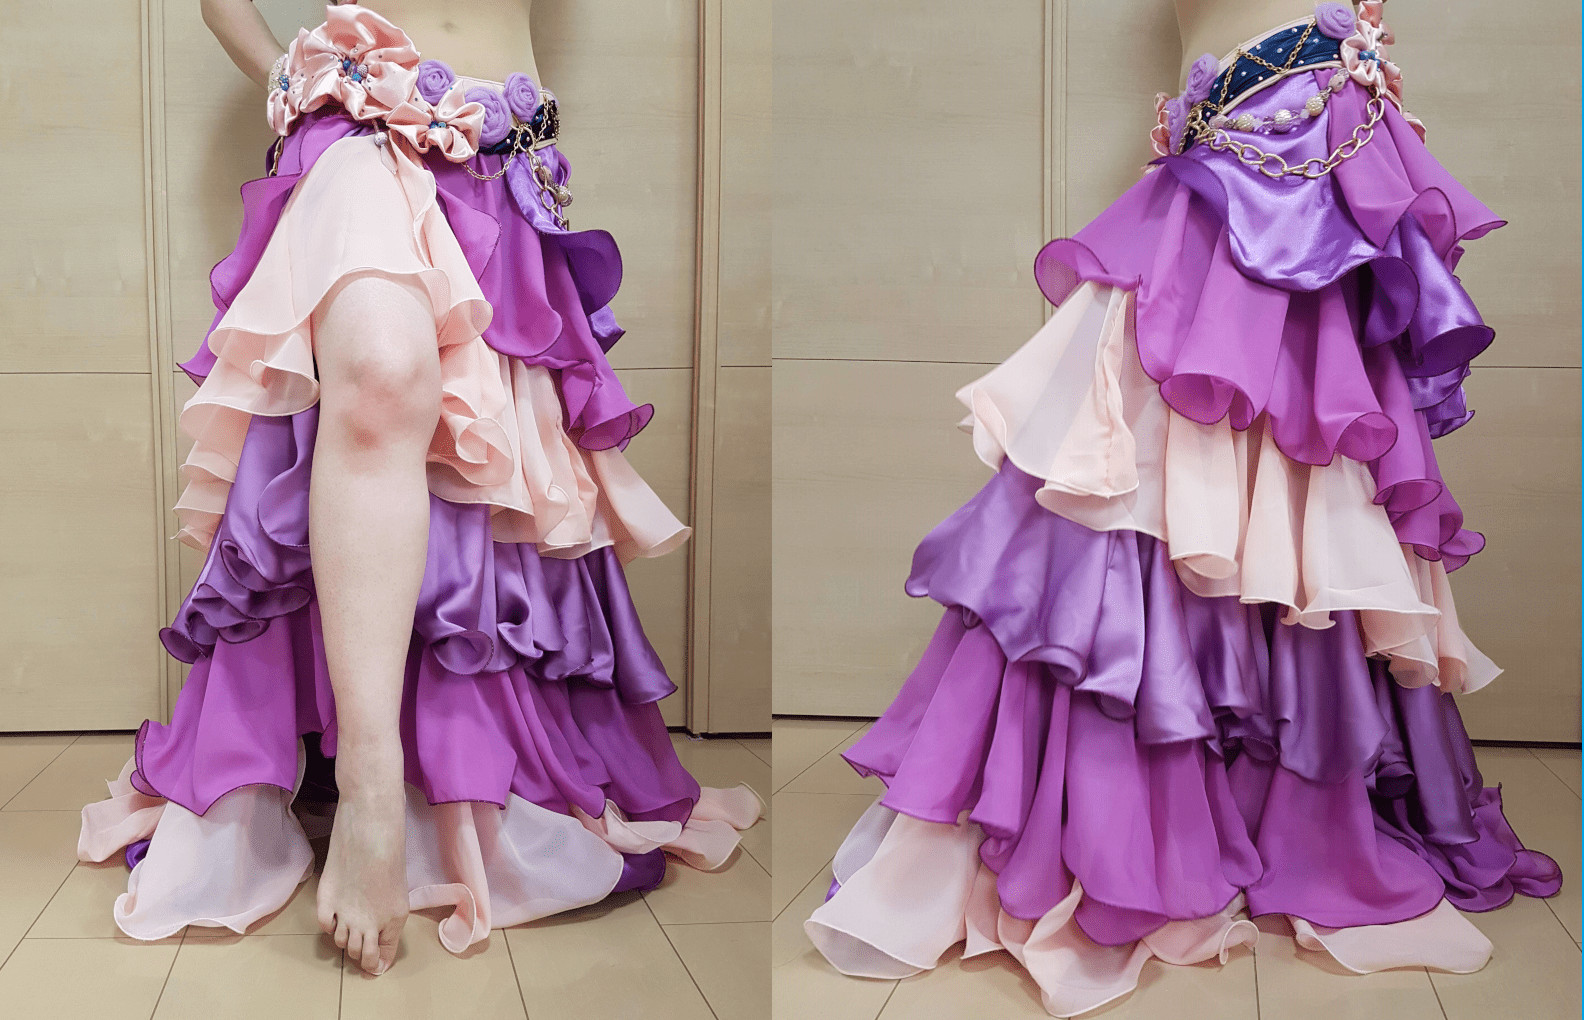
Create stunning cascading ruffle skirts for your belly dance skirt dance – find the tutorial here!
If you’re a Pinterest enthusiast, we’d appreciate a pin to help spread the word!
Ready to expand your belly dance costuming skills?
Enroll in my free course, Belly Dance Costume Making 101, and delve deeper into costume creation!