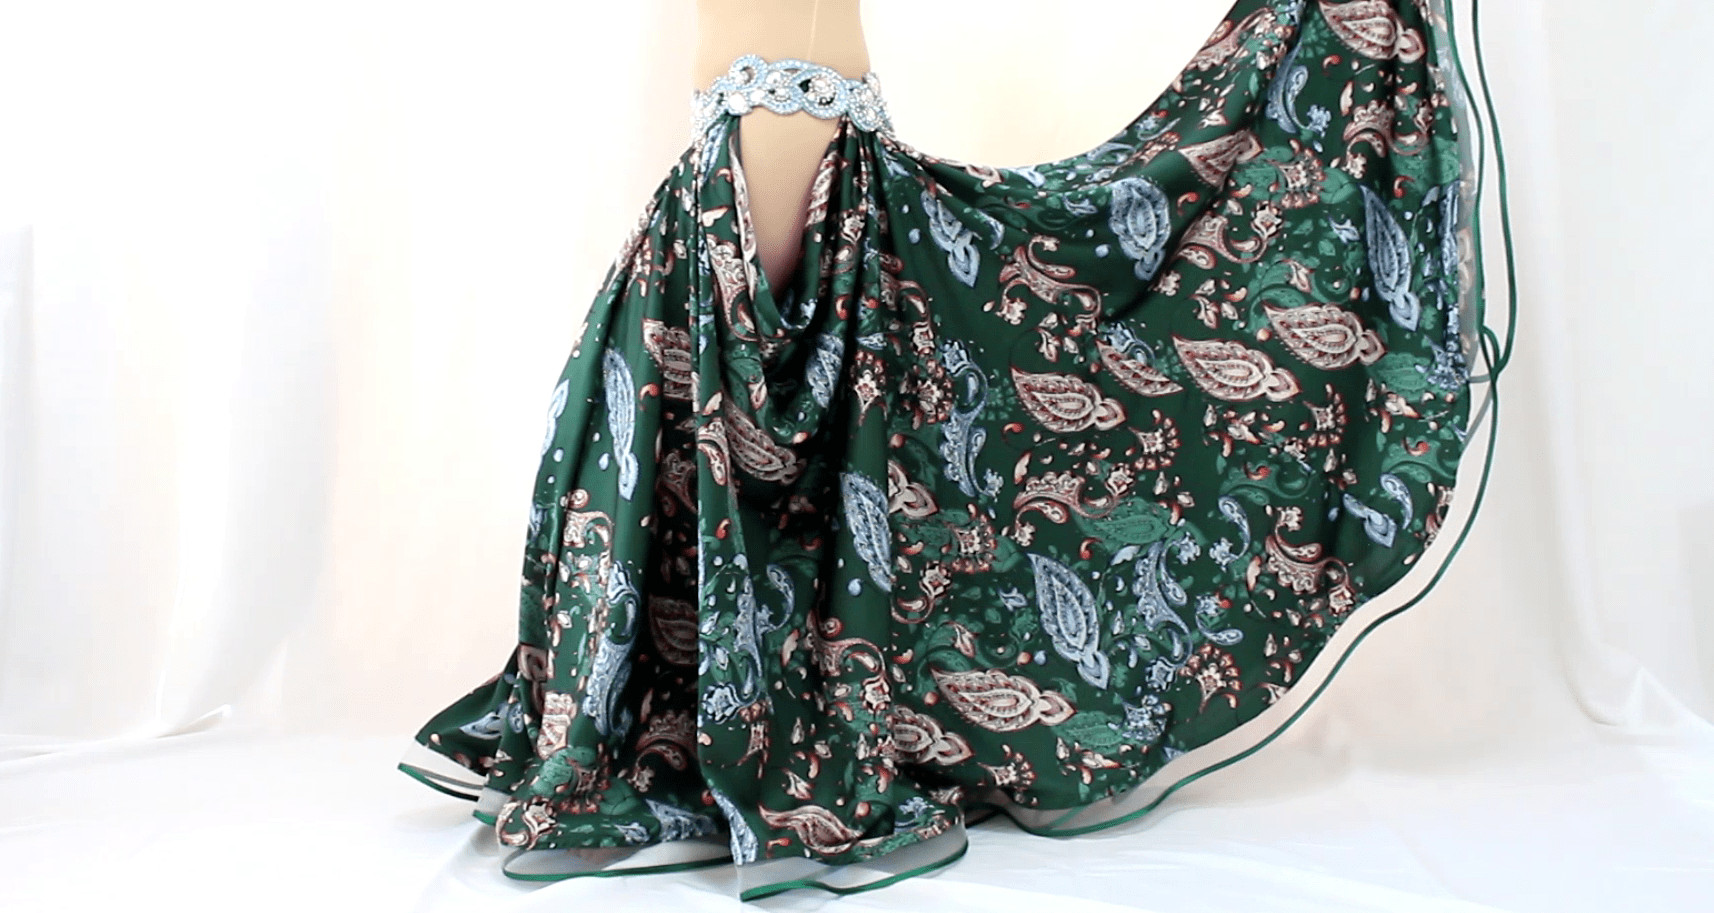
Are you captivated by the mesmerizing swirl of belly dance skirts? For many dancers, the circle skirt is the first garment they fall in love with, and for good reason. Its versatility allows it to pair beautifully with countless hip scarves and belts, creating a classic and elegant belly dance silhouette. The way a circle skirt moves and flows is simply enchanting, especially during spins and turns. Imagine a troupe of dancers, all in matching circle skirts, twirling in unison – a truly breathtaking sight!
Understanding how to make and adjust a circle skirt is a valuable skill for belly dancers of all levels. This guide will walk you through creating your own belly dance circle skirt and pattern. While you can skip the pattern and draw directly onto your fabric, investing time in a pattern offers numerous benefits. You can reuse it repeatedly with different fabrics, ensuring a perfect fit every time you create a new skirt.
This tutorial focuses on a simple yet elegant 2-panel circle skirt. Let’s get started!
Click here to receive updates and the Circle Skirt Custom Measurement Calculator
To embark on your belly dance skirt sewing journey, gather these materials:
Alt text: Essential sewing materials for making a belly dance circle skirt, including fabric, elastic, measuring tape, scissors, thread, pins, and pattern paper.
- Fabric: The key to a beautiful belly dance skirt is fabric choice. For a flowy and graceful skirt, opt for lightweight materials like chiffon or satin. These fabrics drape elegantly and enhance movement. For more fabric ideas, Shira.net offers a comprehensive guide to circle skirt fabrics with excellent recommendations. Check out her fabric guide here.
- Elastic: We will use 1-inch wide elastic for the waistband in this tutorial, providing comfortable support and a smooth fit.
- Sewing Tools: Standard sewing essentials are needed: a flexible measuring tape, fabric marker or chalk, sharp fabric scissors and paper scissors (separate pairs are recommended to keep fabric scissors sharp), thread matching your fabric, pins, hand sewing needles, and a sewing machine for efficient construction.
- Pattern Paper: For creating your reusable pattern, you’ll need a large sheet of paper. You can use dedicated pattern paper, or get creative with taped-together paper bags or large format printing paper.
Estimating Fabric for Your Belly Dance Skirt
Creating a circle skirt does require a generous amount of fabric due to its circular design. This guide is for a 2-panel circle skirt. It’s always wise to buy slightly more fabric than you estimate, just in case of errors, or if you wish to use the leftover fabric to create matching accessories like armbands or a headpiece.
Standard Fabric Width: 150 cm (59 inches)
Hip Measurement Range: 92 – 108 cm (36 – 42 inches)
| Skirt Length | 70 cm (27 in) | 80 cm (31 in) | 90 cm (35 in) | 100 cm (39 in) |
|---|---|---|---|---|
| Estimated Fabric Length | 3 m (3.3 yd) | 3.5 m (3.8 yd) | 4 m (4.4 yd) | 4.5 m (5 yd) |
This table provides a helpful estimate. If your measurements fall outside this range, adjust your fabric purchase accordingly. These estimations are based on Shushanna’s formula, rooted in the Pythagorean Theorem. You can find her detailed circle skirt instructions here. For skirts with more panels, Shushanna’s site is an invaluable resource for calculations and design variations. Developing this table alone was a mathematical challenge, but we wanted to simplify it for you! Shushanna’s website is a treasure trove of belly dance costume knowledge, and we highly recommend exploring it.
Step 1: Crafting Your Belly Dance Circle Skirt Pattern
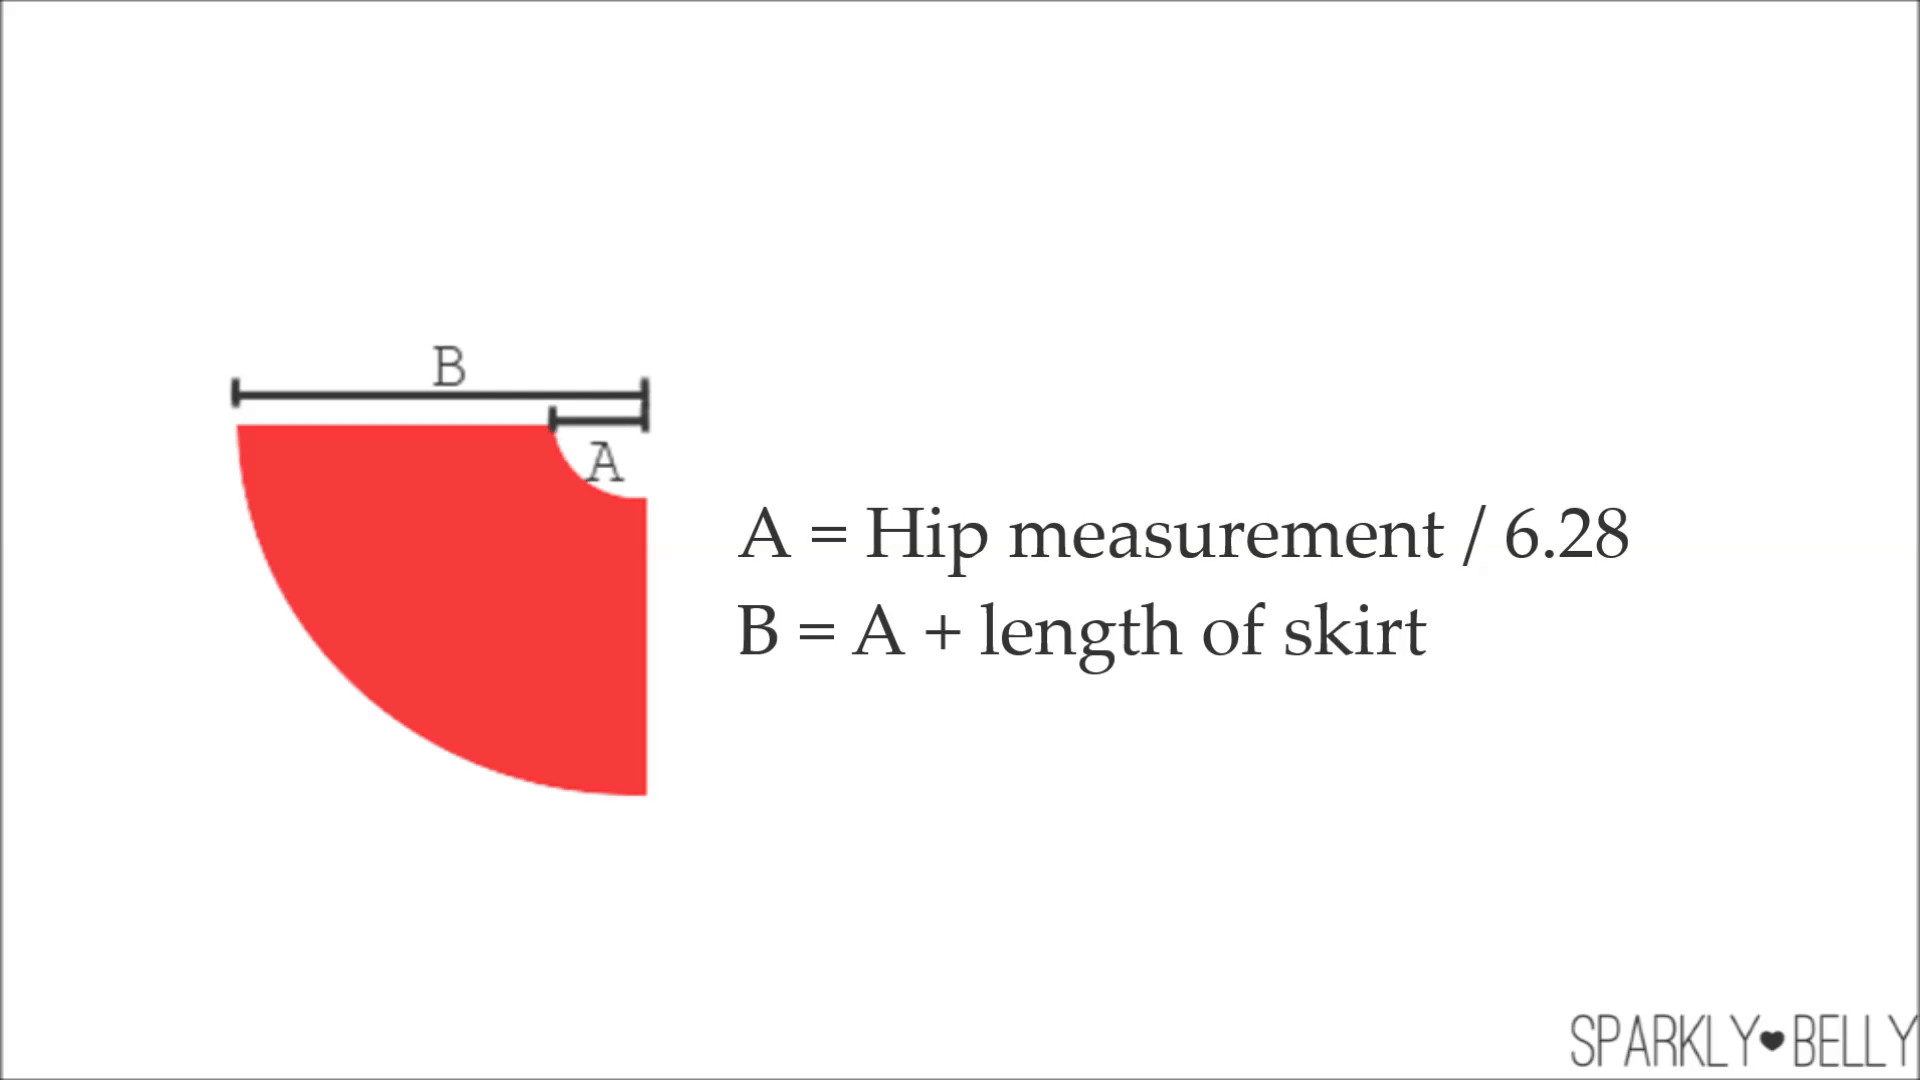
Imagine a circle skirt laid flat – it forms a perfect circle. A 2-panel circle skirt is constructed from two half-circle pieces. We’ll start by making a pattern for just one-quarter of the circle, simplifying the process.
Begin by taking two crucial measurements: your hip circumference at the fullest point and your desired skirt length.
 Circle Skirt Measurements
Now, perform a couple of simple calculations to determine lengths A and B, which define the quarter-circle pattern. If you prefer to skip manual calculations, our Custom Measurement Calculator is available for download below – simply input your measurements to get the required values.
Click here to get the Circle Skirt Custom Measurement Calculator!
- A = Hip measurement / 6.28 (This calculates the radius of the waist opening)
- B = A + Skirt length (This calculates the outer radius of the skirt)
Once you have your A and B values, use your measuring tape to draw a quarter-circle shape on your pattern paper. Length A will be the inner curved edge (waistline), and length B will be the outer curved edge (hemline). The two straight edges will meet at a 90-degree angle. Carefully cut out your paper pattern.
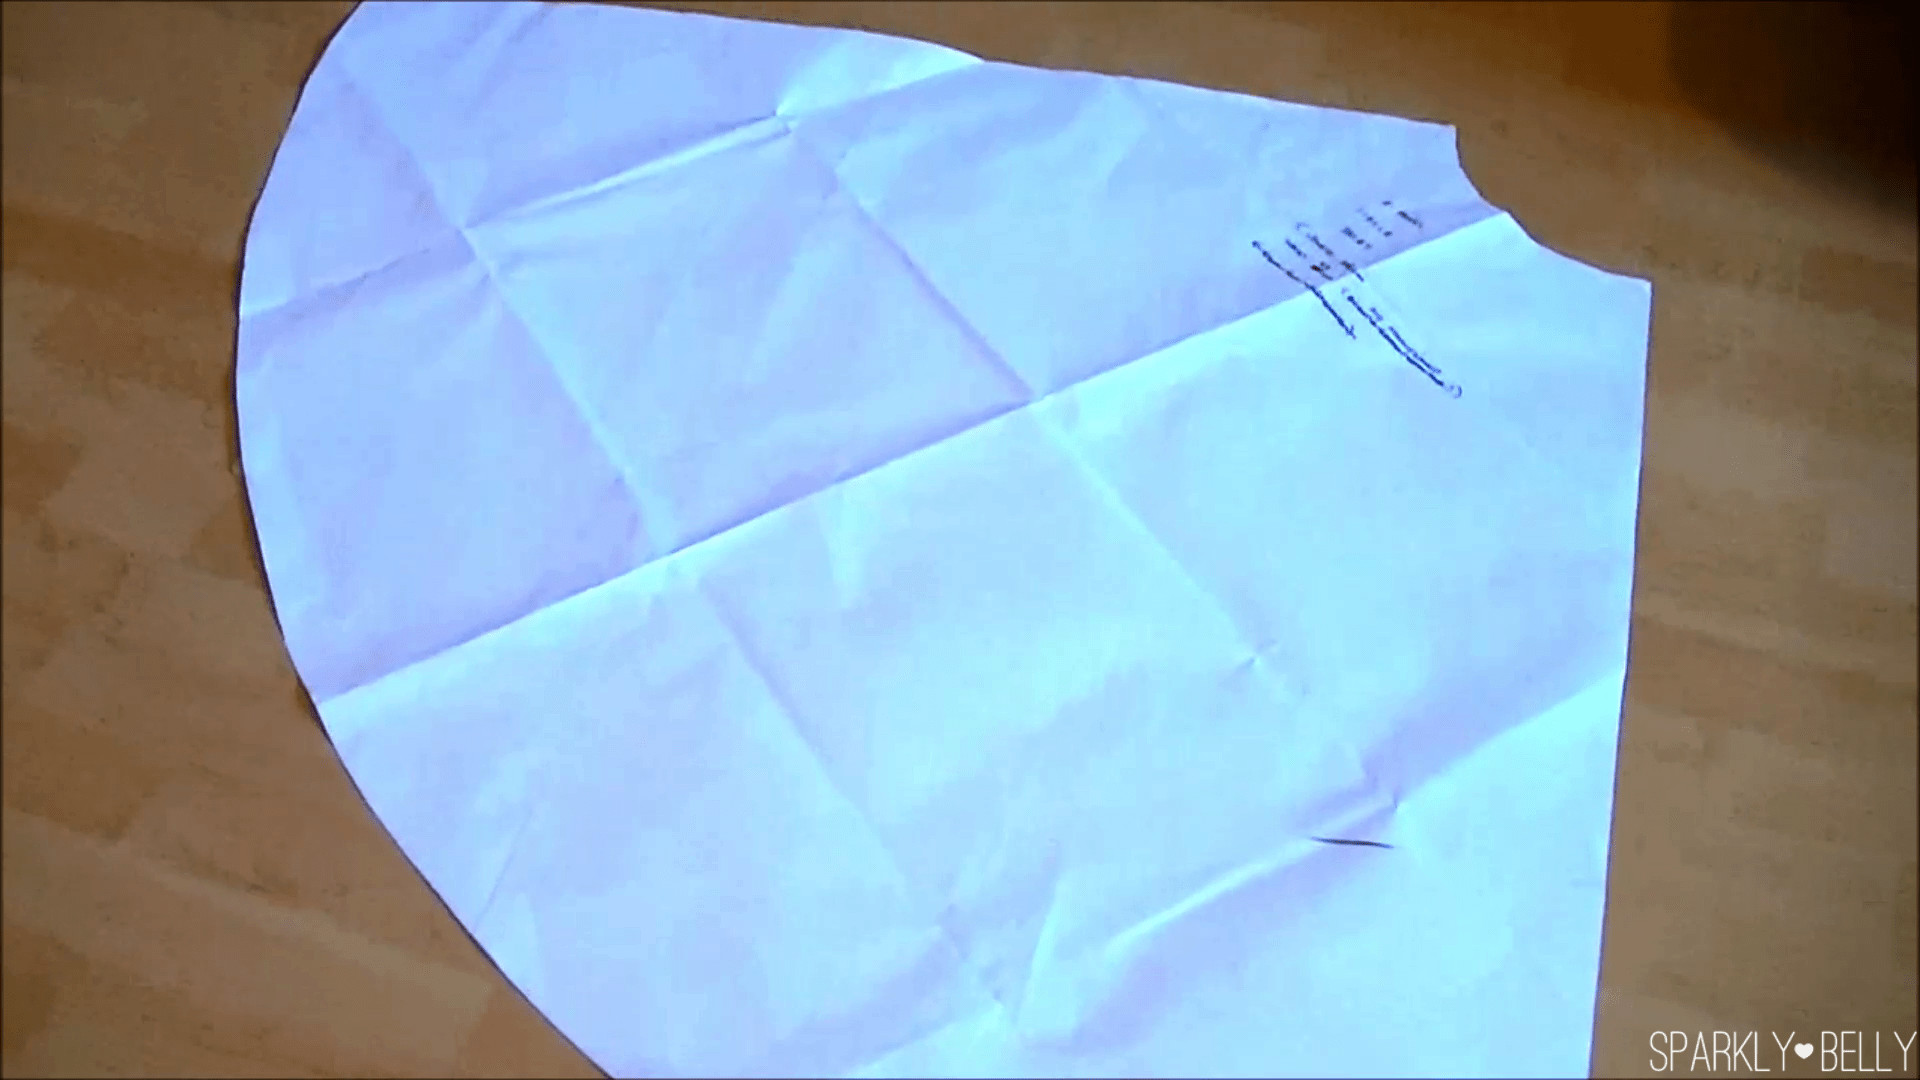 How to Make a Circle Skirt Pattern
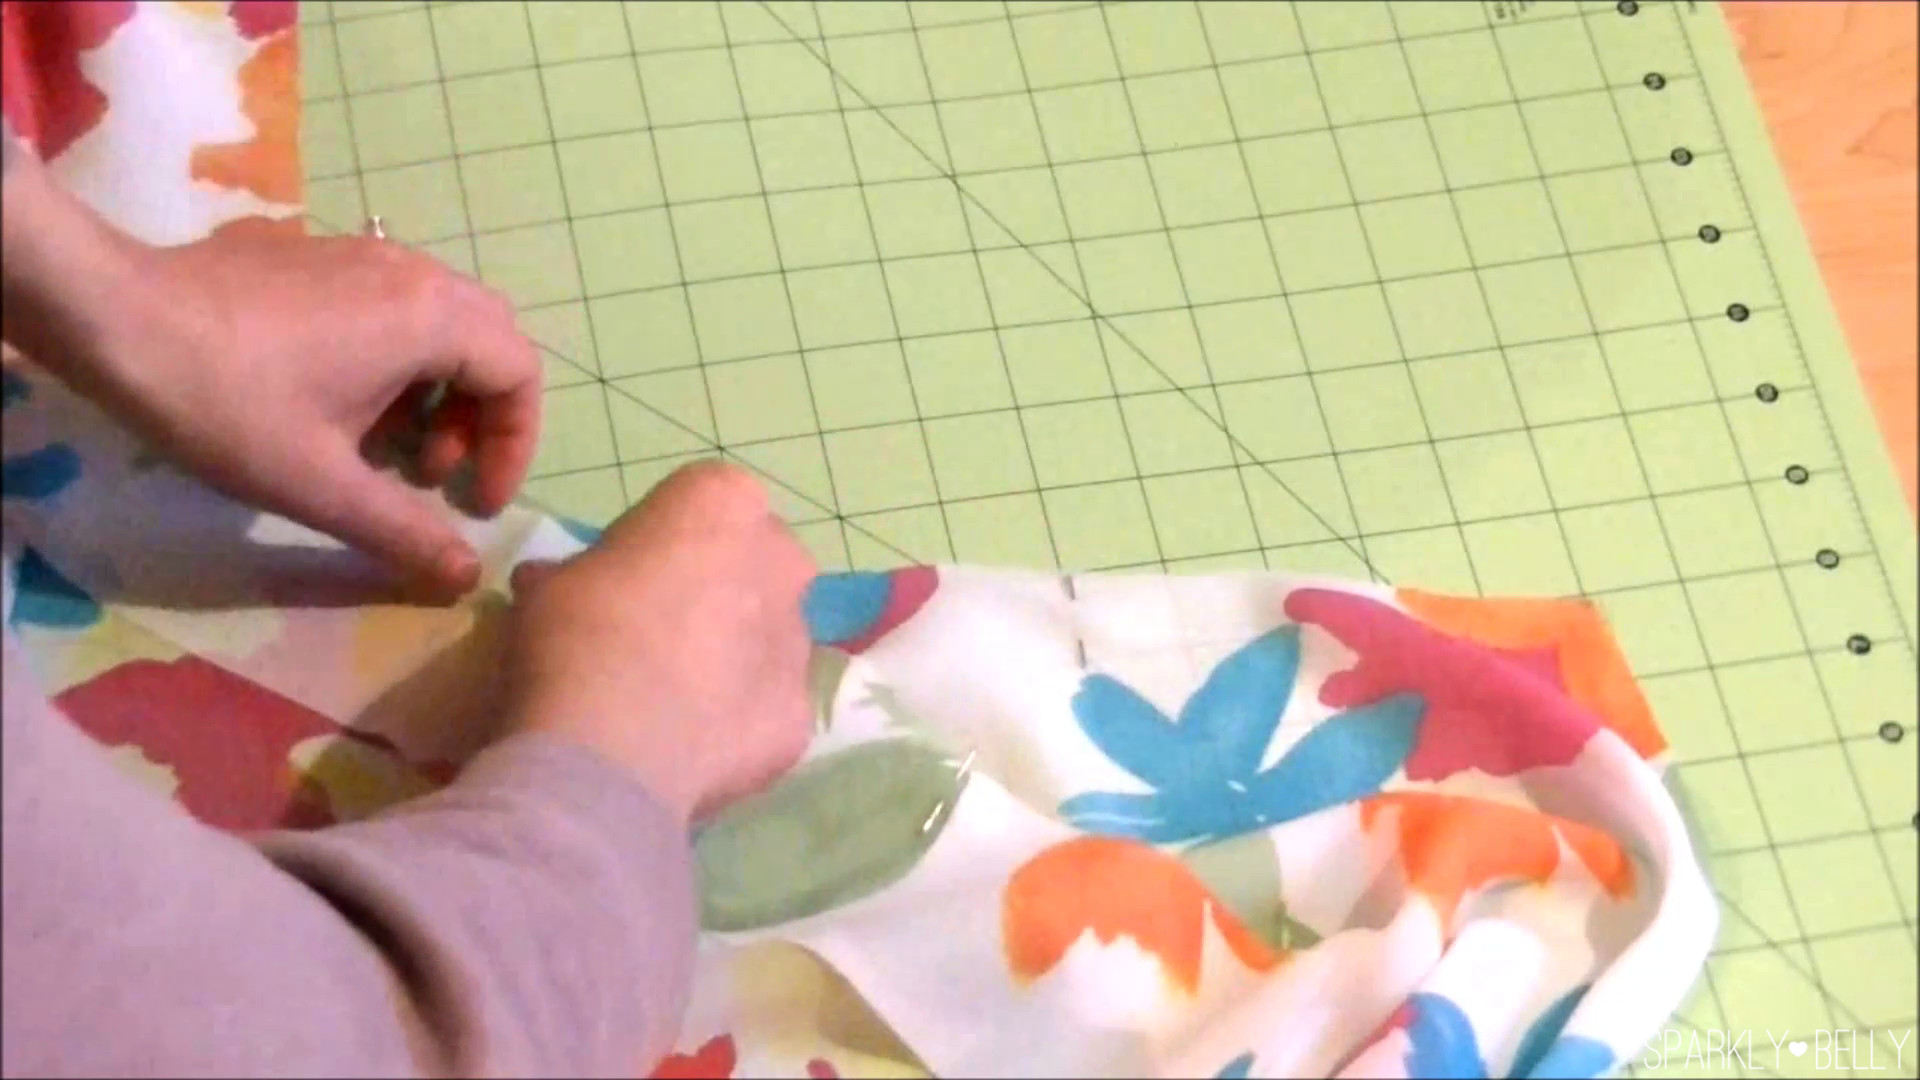
Step 2: Cutting the Fabric for Your Skirt Panels
Prepare your fabric by folding it in half, lengthwise. Position your pattern piece on the folded fabric, ensuring that one straight edge of the quarter-circle pattern aligns with the fabric’s selvage (finished edge) or raw edge, and the other straight edge is placed along the fabric fold. This ensures you cut two layers of fabric simultaneously, creating a half-circle panel when unfolded.
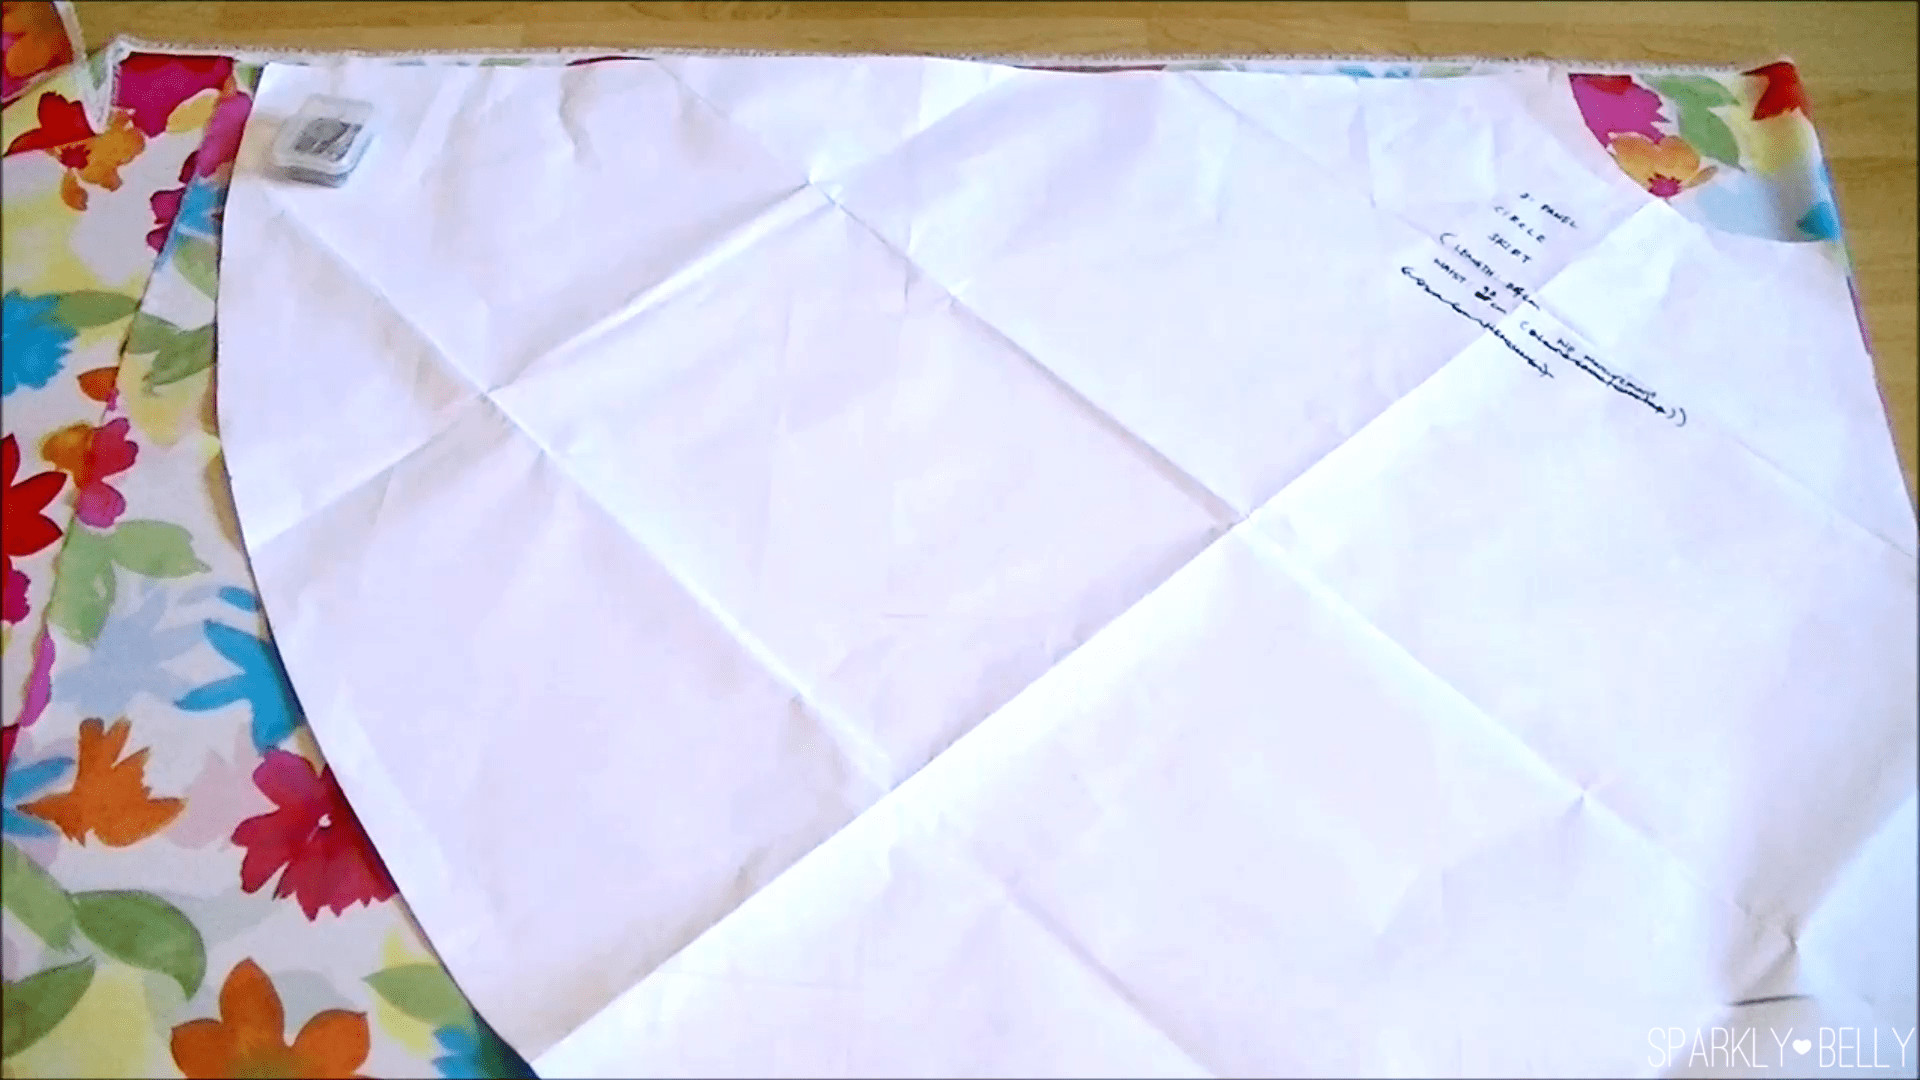 Circle Skirt Pattern
Secure the pattern to the fabric with pins. For added stability, especially with slippery fabrics, place weights or heavy objects on the pattern to prevent shifting. Carefully cut along the pattern edges. Using weights is especially helpful when working with fabrics like chiffon, which tend to be delicate and move easily. Don’t be overly concerned with absolute precision at this stage. Cut as closely to the pattern edge as you can. When you unfold the fabric, you will have a half-circle panel.
Repeat this step to cut a second identical half-circle panel. You now have two main pieces for your 2-panel belly dance skirt.
Step 3: Constructing the Elastic Waistband Casing
Now, we’ll create the casing that will hold the elastic waistband.
First, cut a rectangular piece of fabric for the casing. You can calculate the dimensions using these formulas or use our handy Circle Skirt Custom Measurement Calculator.
- Rectangle Length = Hip measurement + 4 inches (10 cm) (This allows for overlap and seam allowance)
- Rectangle Width = (Width of elastic x 2) + 1 inch (2.5 cm) (This ensures enough space for the elastic and seam allowance)
Alt text: Rectangular fabric piece for creating the elastic casing of a belly dance circle skirt.
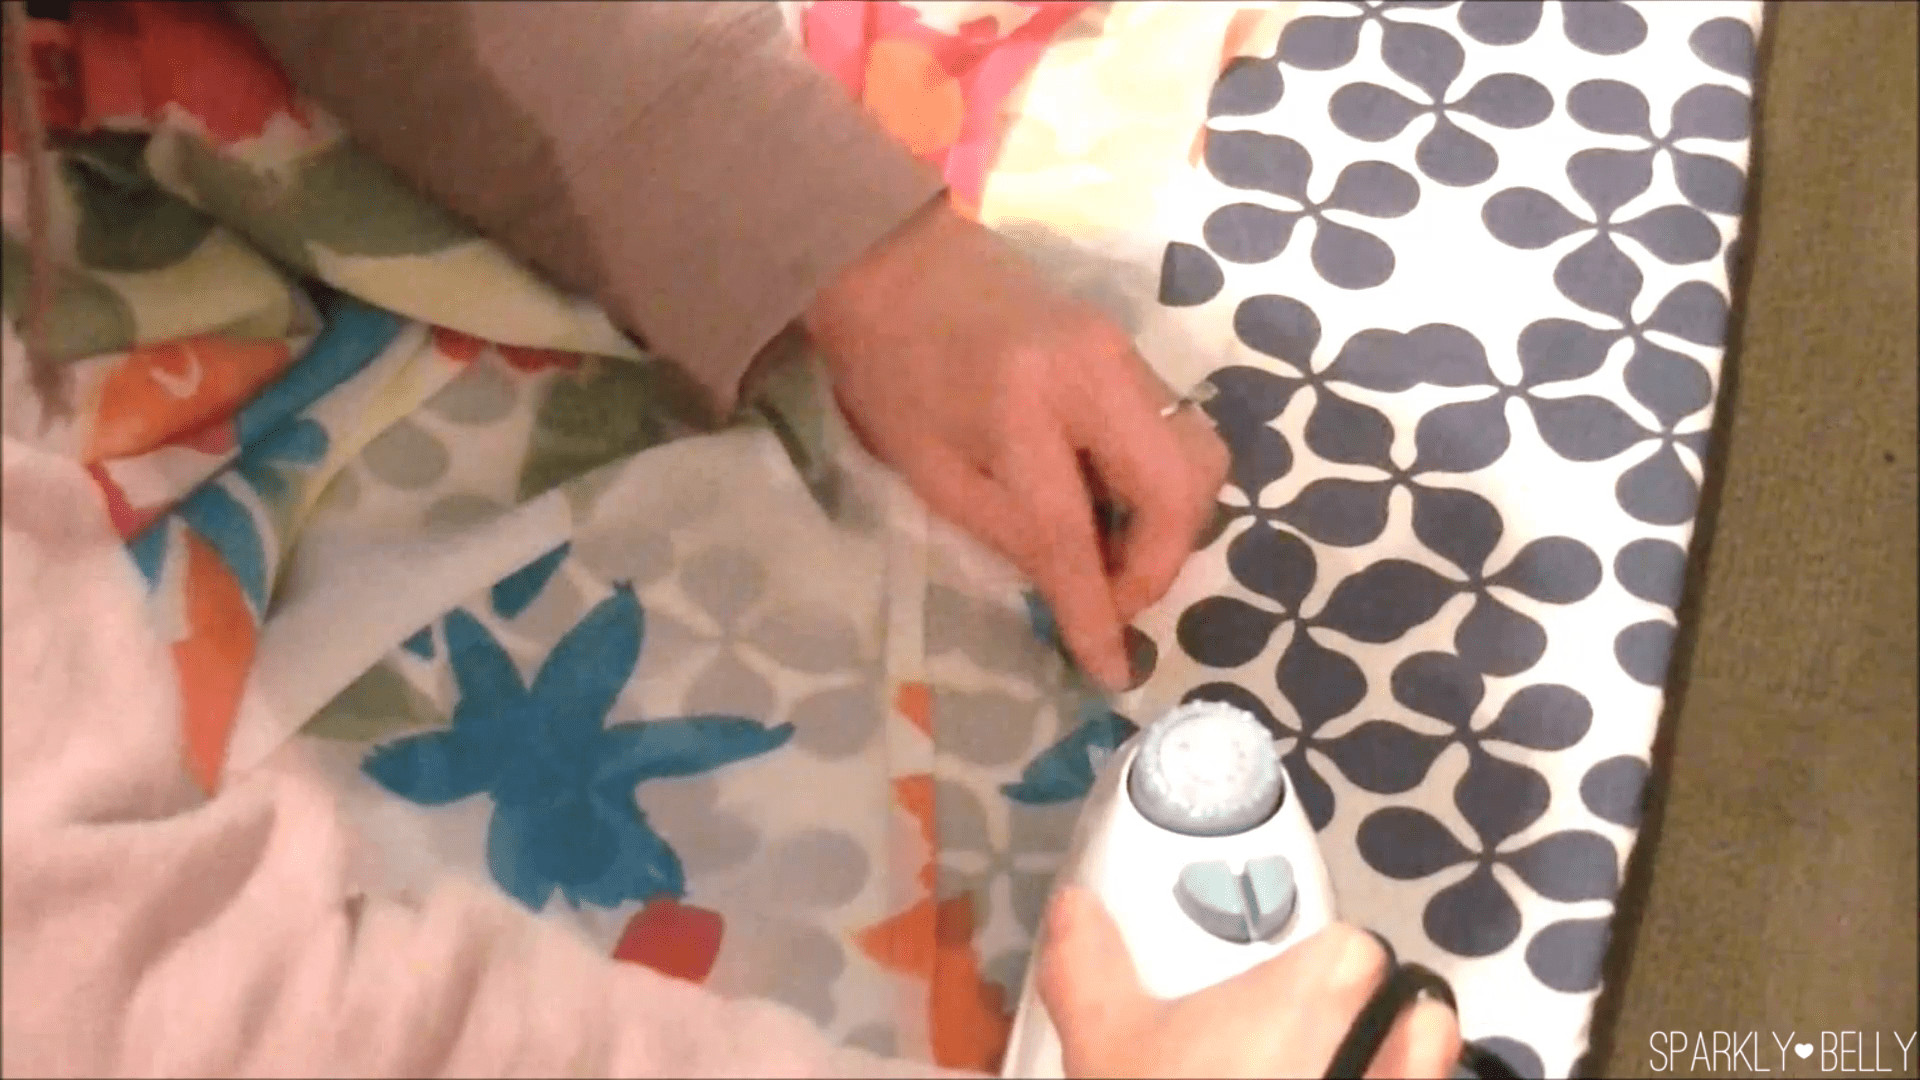
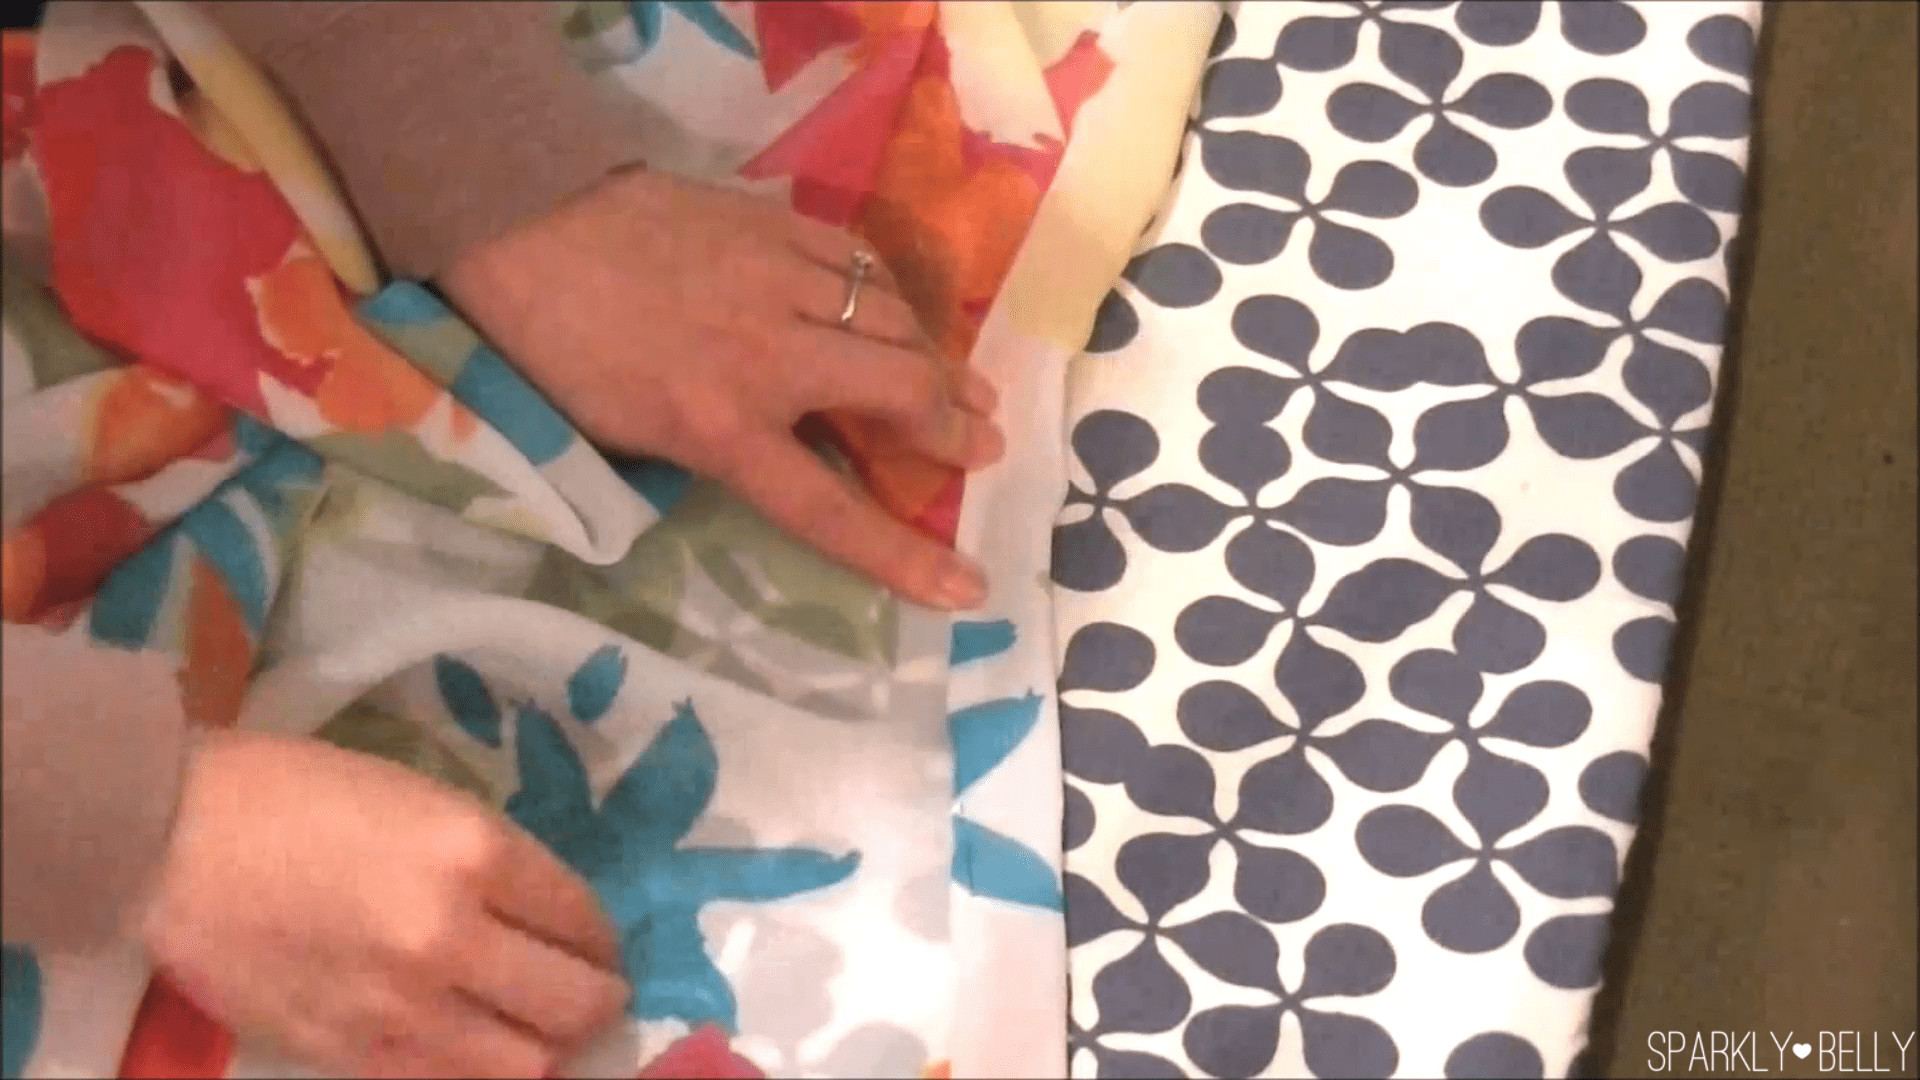
Next, align the right side of the rectangular casing piece with the wrong side of one of your half-circle skirt panels. Match the straight top edge of the casing to the curved waist edge of the skirt panel and pin them together.
 How to Make a Belly Dance Circle Skirt
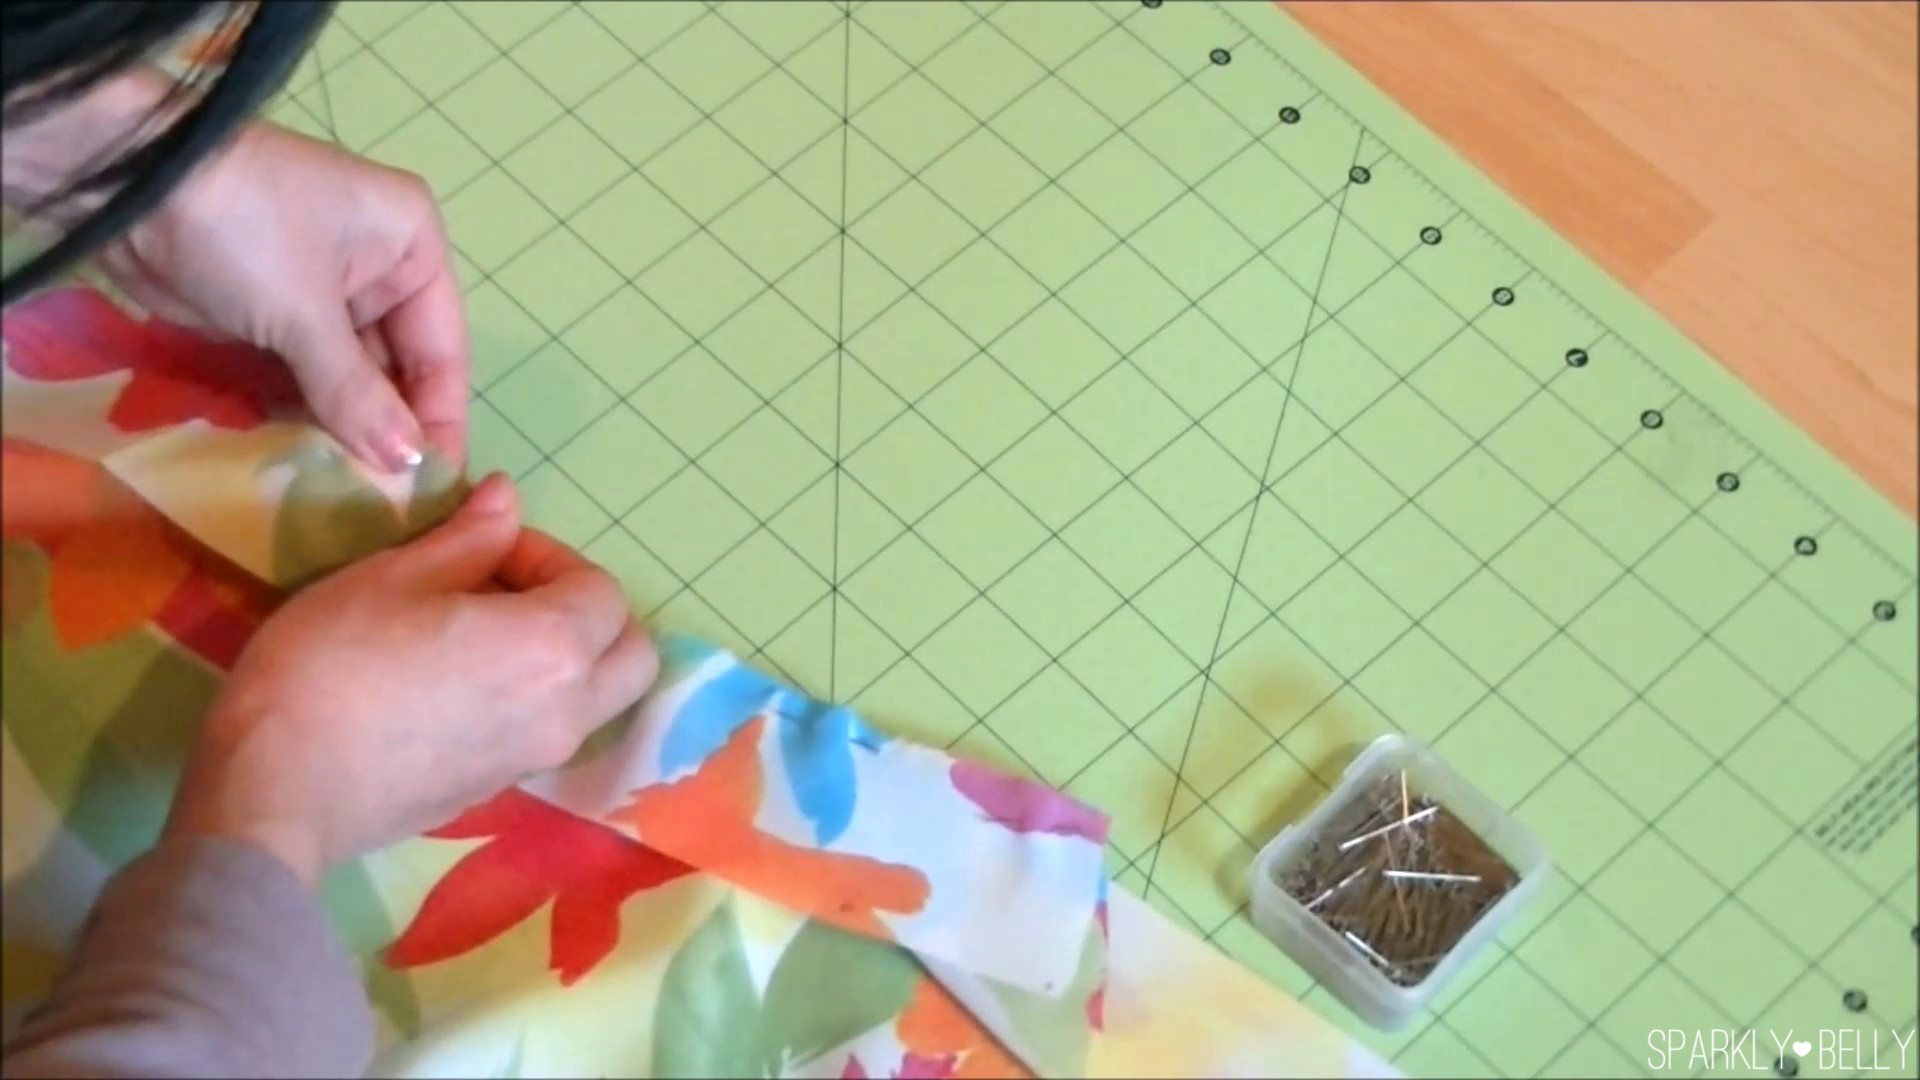
Aligning a straight edge to a curve can be a little tricky. One method is to pin from one end to the other, but this can sometimes lead to uneven fabric distribution as the curved edge can stretch.
An alternative and more accurate pinning technique is to divide both edges into sections. Fold the straight casing edge in half, then in half again, marking these points with pins to create eighths. Do the same for the curved skirt waist edge, but divide it into quarters. Match up the pin markers on both pieces, distributing the fabric evenly. Use plenty of pins to secure the layers. When sewing, hold the two layers taut and gently ease the curved edge into the straight edge as you feed it through your sewing machine.
 How to Make a Belly Dance Circle Skirt 2
Sew along the pinned edge with a ½ inch (1.2cm) seam allowance. Repeat this process to attach the casing to the second half-circle skirt panel.
Once both panels have the casing attached, flip the skirt right side out. The right side of the skirt should be facing you, with the wrong side of the casing visible at the top edge. Pressing the seam allowance upwards towards the casing at this stage will create a neater finish and make folding easier. Fold the top edge of the casing over by ½ inch (1.2 cm) towards the wrong side and press again.
 How to Make a Full Circle Skirt
Fold the casing over again, aligning the folded edge with the stitching line from the previous step. Pin in place. Topstitch close to the folded edge, creating the casing tunnel for the elastic. Ensure the casing is wide enough to comfortably accommodate your elastic.
 How to Make a Skirt Elastic Casing
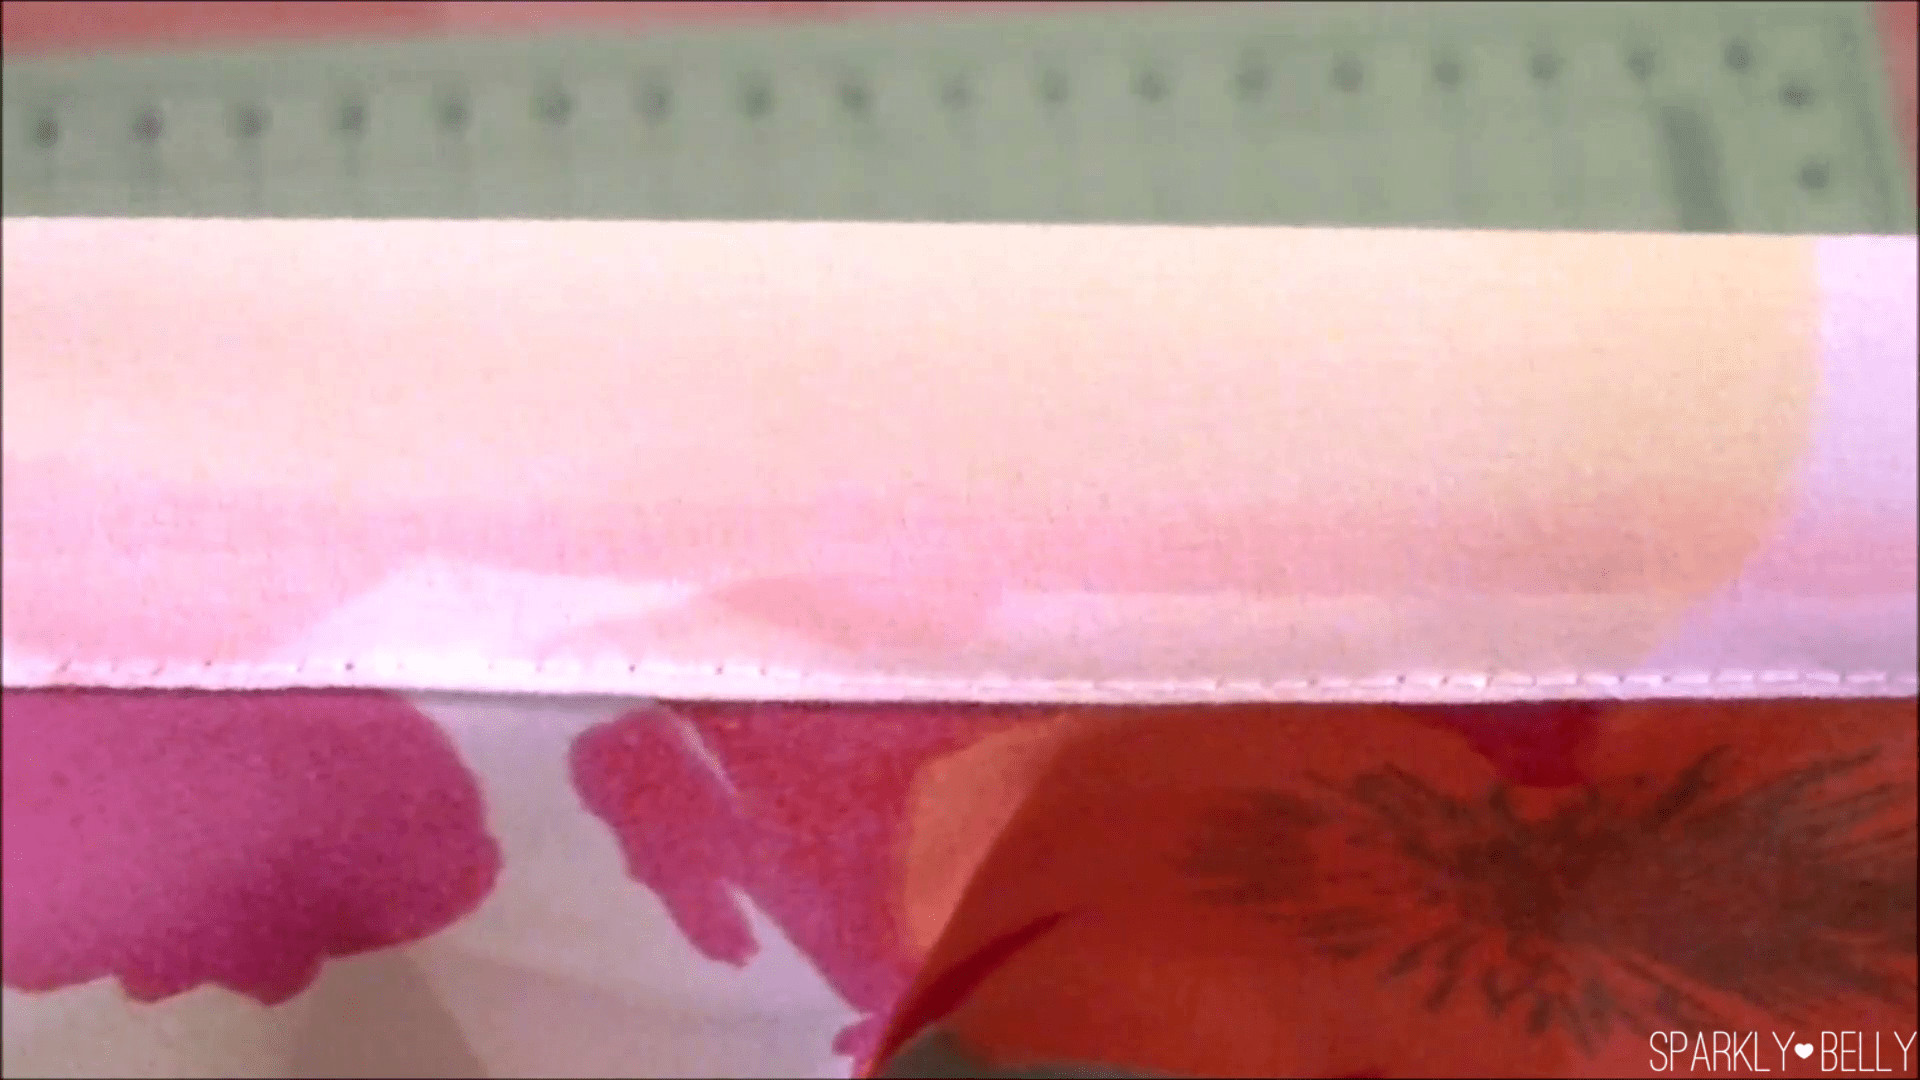 Top Stitch
Now, measure the elastic for your waist. Wrap the elastic around your waist where you want the skirt to sit, ensuring it’s snug but comfortable. Cut the elastic to this length and thread it through the casing using a safety pin attached to one end to guide it through. Once the elastic is all the way through, overlap the ends by about an inch and securely stitch them together.
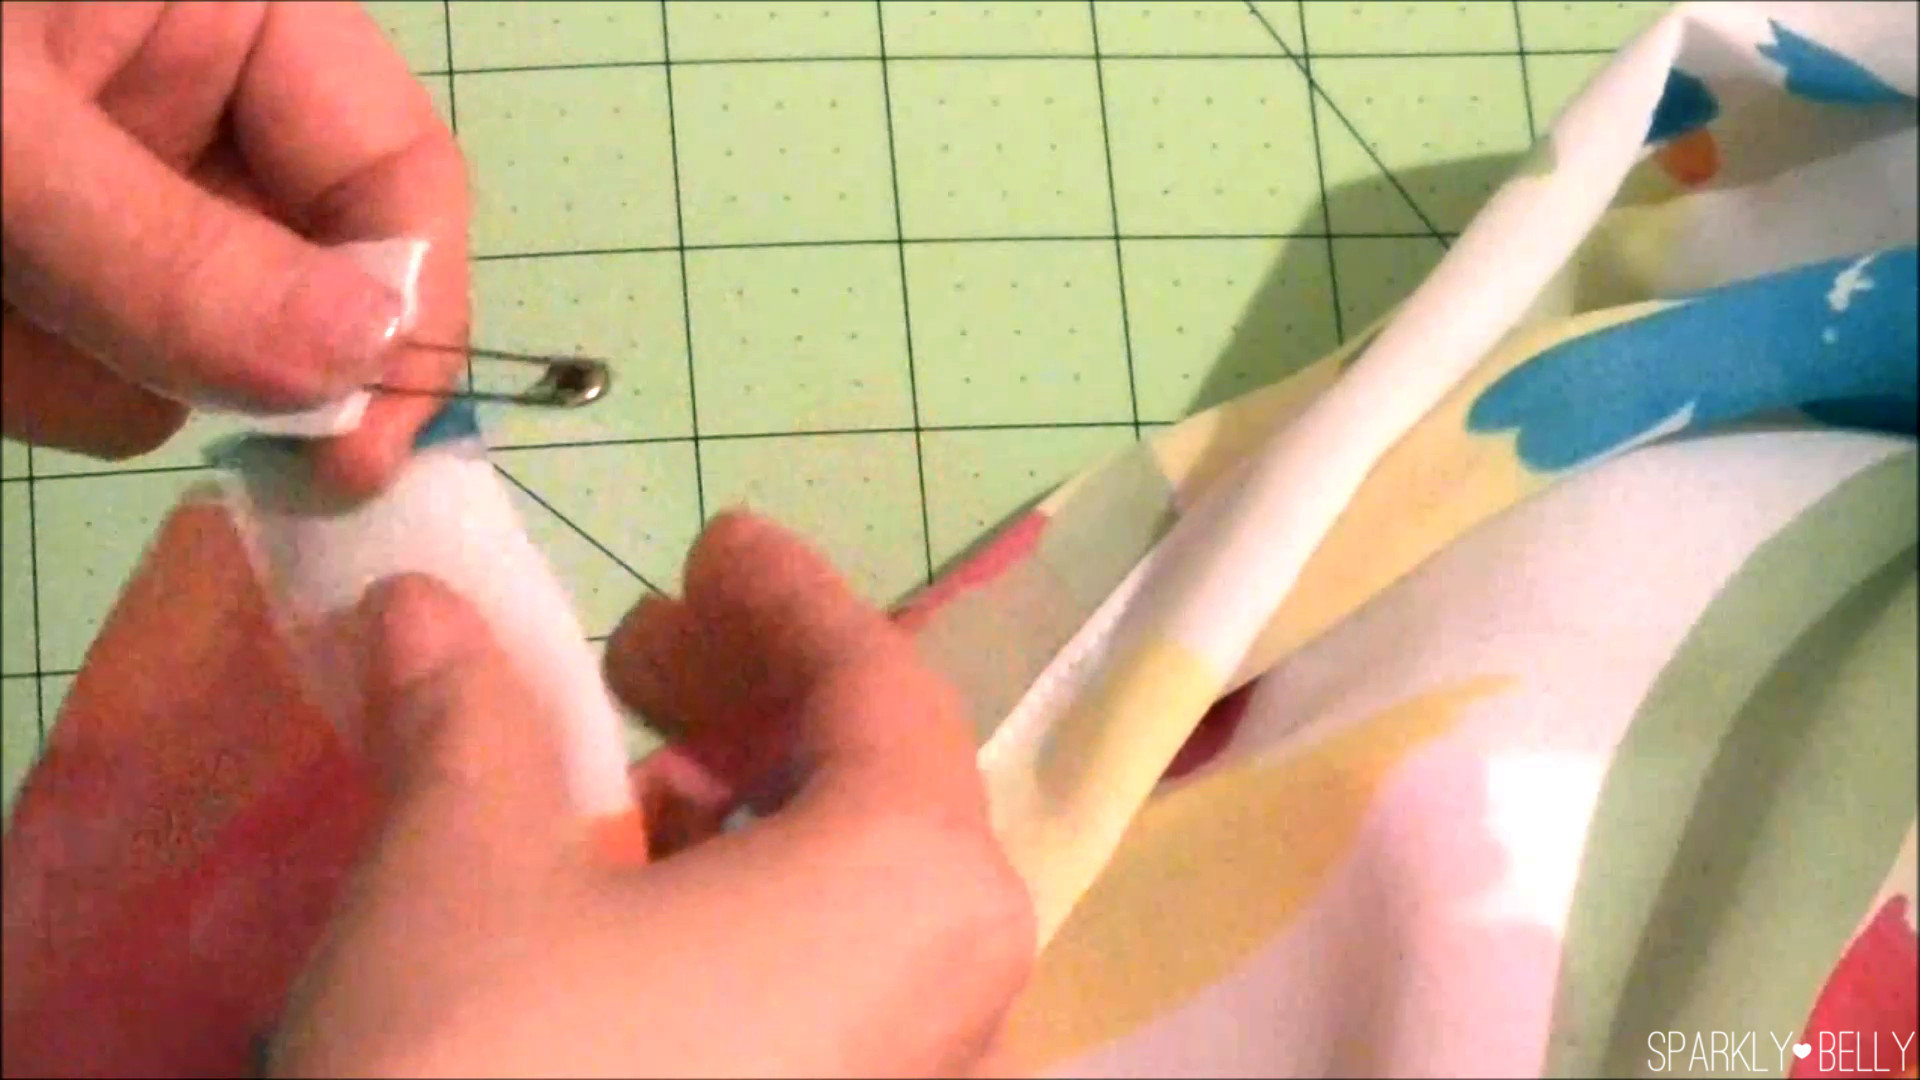 How to put elastic through casing
Pro Tip: Double-check that your elastic isn’t twisted before stitching the ends together! If you accidentally sew it twisted, you’ll have to undo the seam and redo it, so take a moment to verify.
Finally, to close the casing opening, overlap the ends of the casing slightly. Fold the raw edge of one side inwards by about ¼ inch (5mm) to create a clean edge. Stitch straight down to close the casing securely, encasing the elastic completely within the waistband.
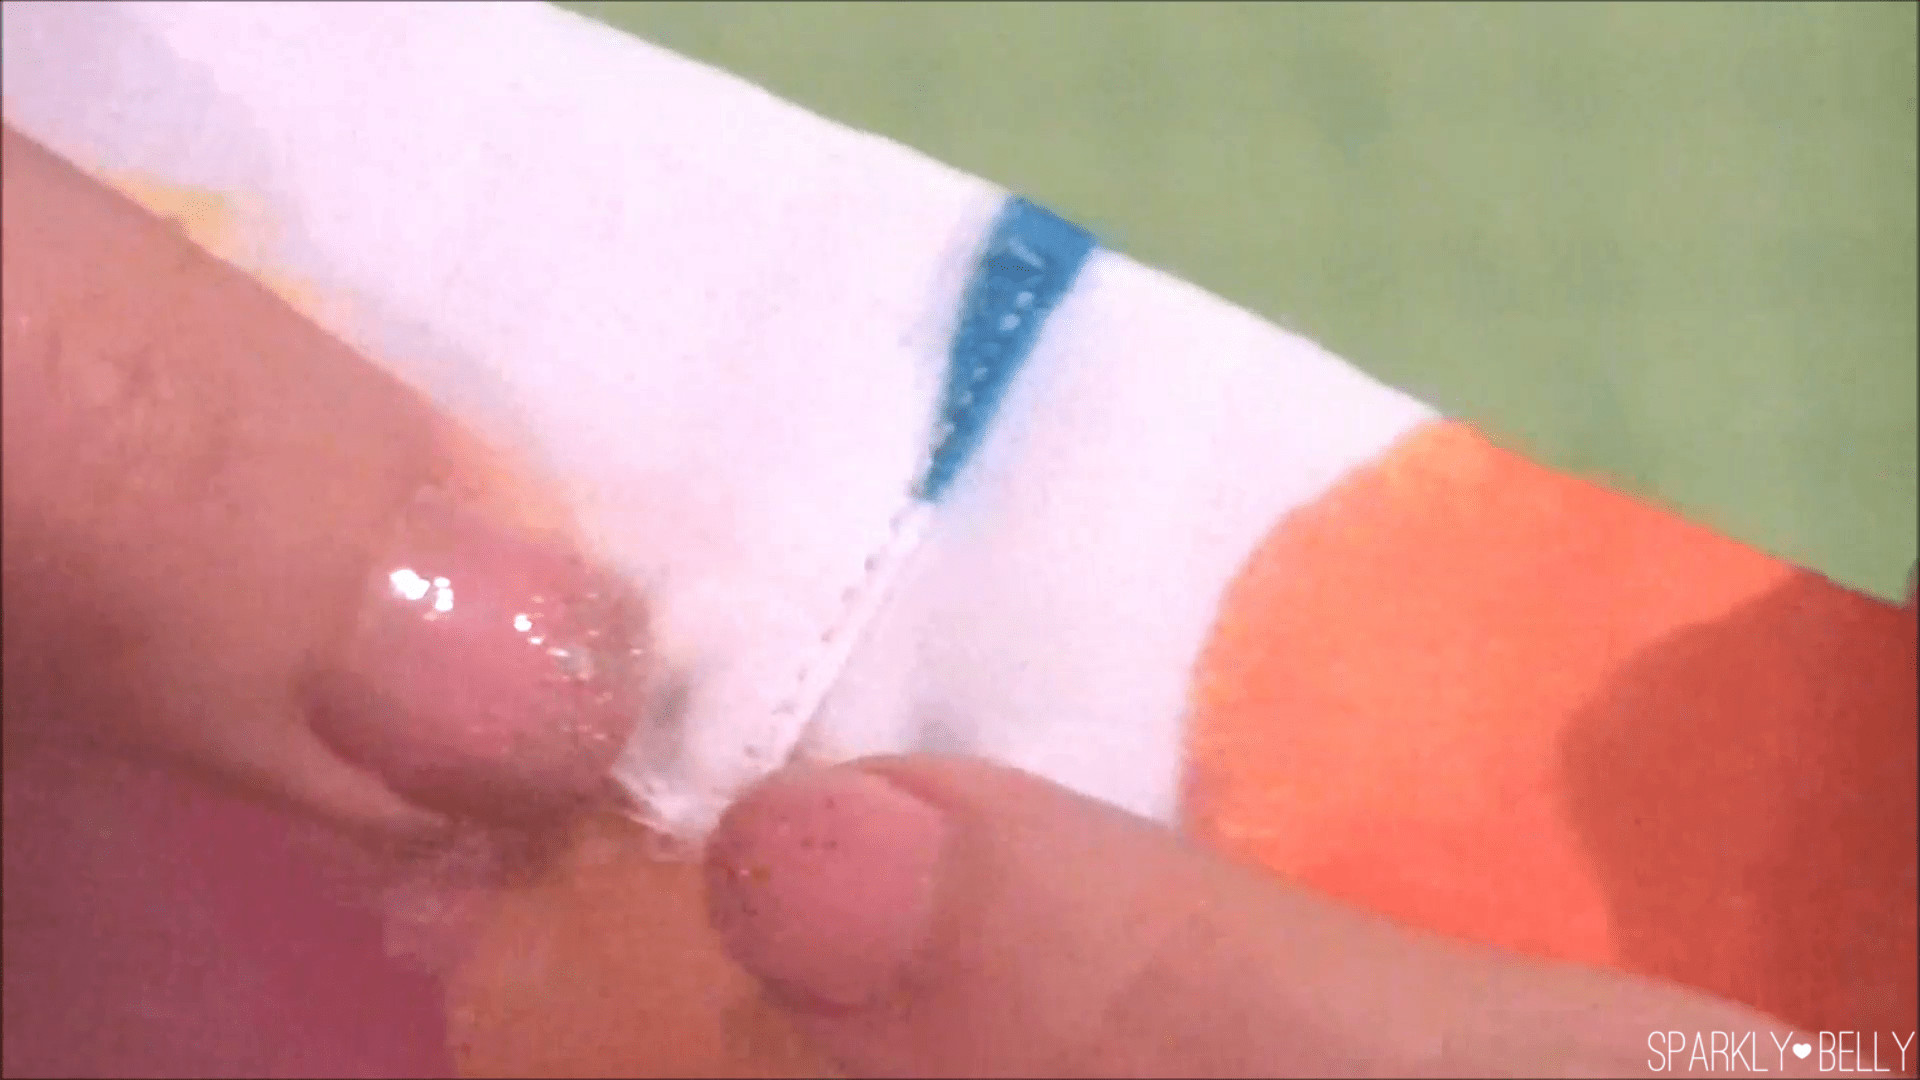 How to close elastic casing
Step 4: Hemming Your Belly Dance Skirt for a Perfect Finish
At this stage, it’s crucial to hang your skirt for at least a few days, or even a week, before hemming. Lightweight fabrics, especially on the bias (curved edge of a circle skirt), tend to stretch significantly due to gravity. Hemming before allowing for this stretch will result in an uneven hemline after the fabric relaxes.
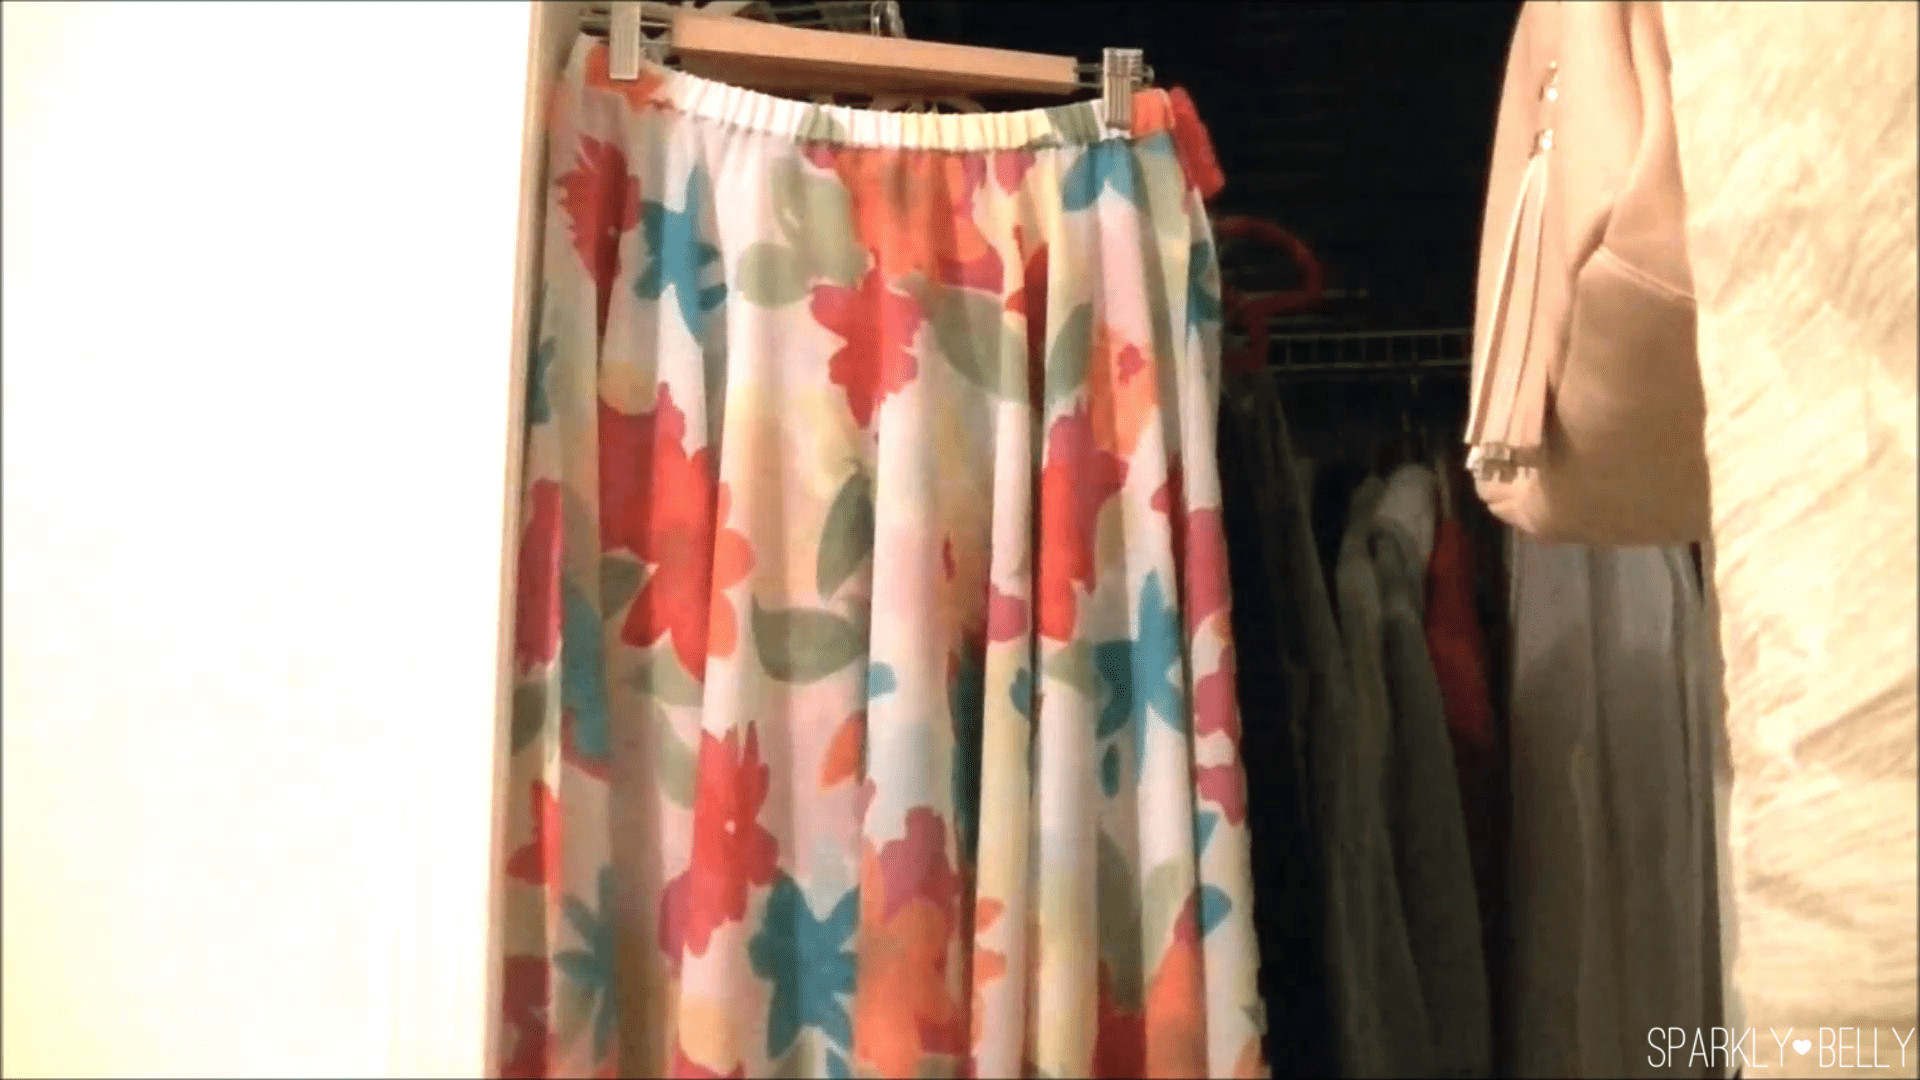 How to Make a Long Circle Skirt
This is also why precise cutting isn’t paramount when working with fabrics like chiffon – the stretching will naturally even out minor cutting imperfections.
Once your skirt has fully stretched, try it on. Determine your desired hem length. You can have a friend help you mark the hemline evenly with pins, or use a dress form or a tall object at your desired skirt length as a guide. A creative solution is using something like a doumbek and a chair to match your desired skirt length as a makeshift dress form!
Alt text: Hemming a belly dance skirt using pins to mark an even hemline.
Hem the skirt using your preferred hemming method. If you have a serger, it’s ideal for creating a professional rolled hem or a clean finished edge. If you don’t have a serger, a narrow zig-zag stitch along the raw edge works well to prevent fraying and create a neat hem.
Similarly, finish the straight side edges of your skirt. You can use a zig-zag stitch or a serger. If you want side slits in your skirt, leave the side edges unfinished. For a continuous circle skirt without slits, simply straight stitch along the straight edges to join the two panels completely. The choice is yours, depending on your desired look and functionality.
Congratulations! You’ve now created a beautiful 2-panel circle skirt, custom-fitted for your belly dance practice and performances. This is a foundational circle skirt style that you can embellish, layer, or add panels to as your skills and creativity grow.
We hope this tutorial has been helpful! Now, we have two small requests. First, if you create a circle skirt using this guide, or if you have your own helpful tips to share, please share them on the Sparkly Belly Facebook page! We love to see your creations and learn from your experiences.
Second, if you found this guide useful, please sign up for our updates and share this article with your fellow dancers, students, and friends. Sharing helps us reach more dancers and provide them with valuable free resources, including our custom measurement calculator and much more to come.
Click here to receive updates and the Circle Skirt Custom Measurement Calculator
If you’re ready to explore more intricate circle skirt designs, such as the stunning skirts pictured below, check out our Advanced Circle Skirts Premium Course!
 advanced circle skirt golden era
 advanced circle skirt
Explore designer-level circle skirt techniques with us here!
Or, if you’re looking for an instantly impressive skirt, how about this cascading ruffle design?
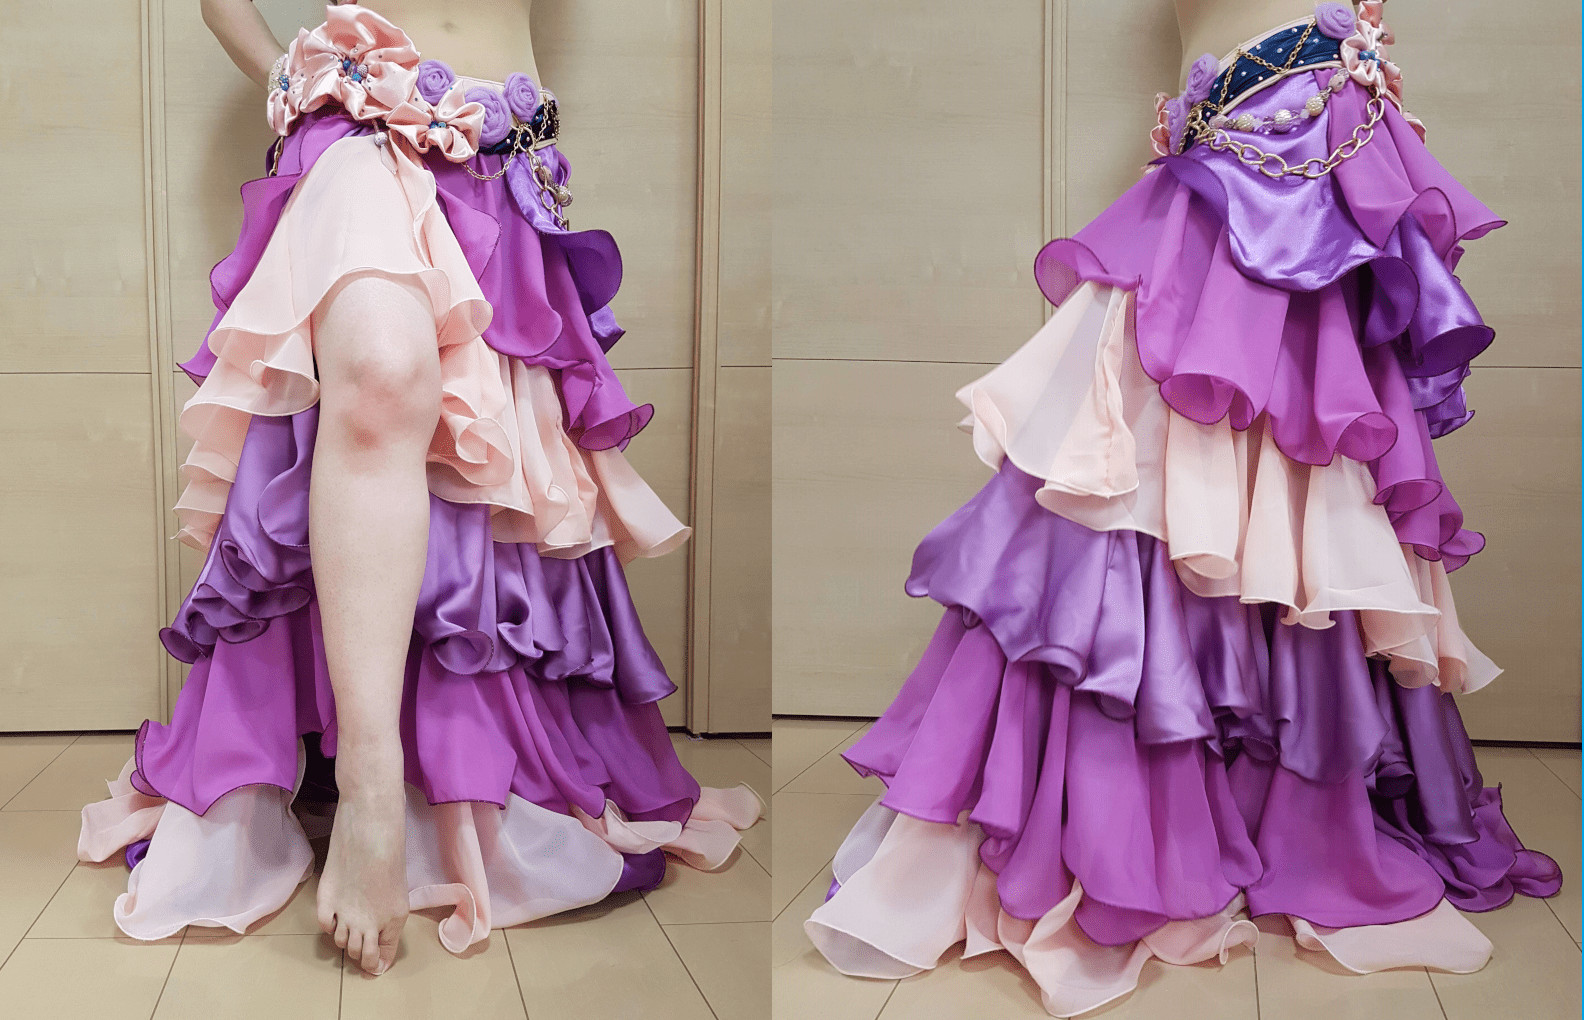
Learn to create cascading ruffle skirts like this here!
Ready to Dive Deeper into Belly Dance Costuming?
 Belly Dance Costume Making 101
Sign up for our free course, Belly Dance Costume Making 101!